Monday, September 20, 2010

Settling down

Its been a couple of months of moving, settling down, and shopping for deco and stuff and I can only update the blog now. My wife and I have been pretty slow at things, painstakingly trying to find the perfect "whatever" to fit that "where-ever". I think the thing that took us the longest were the bedside tables.. We've yet to finish the bedroom really, and two months into moving in, there is only 1 plant at home, in my toilet.

Anyway, here's what the living room looks like now. We're pretty happy with the sofa, but that 40inch Samsung LED seems a little tooooo small for the wall! Fits our minimalist theme nonetheless. :P
The favourite panaromic shot.
The Pinnacle of Minimalist

Sofa & Cushions from Massimo, Coffee table from AIR, Rugs from Vosch Element


Well, I really spend too much time on my PS3 for my own good. Wife is nagging at me every night to go to sleep / stop hogging the TV so she can what her dramas.

Anyway, this is the kitchen. We've started cooking, and believe it or not, the smell does not seem to be a problem. the Turbo chimney hood that we acquired is good at what it does, meaning minimal fuss after cooking!
Yeap, its not just for show and we can actually cook here.


Well, that's it for now. I really need to head back to finish the boss in FF13. PS3 in Full HD is much to be awed about and the graphics make XBox and WII look like they come from the 1990s.

Thursday, July 8, 2010

Handing Over...

Just a very quick post before I go to bed.

I finally found the pictures of the Master Bedroom and have put them up below. We've payed up 90% now, and just have the finally nitty gritty touching up to do. Again as I mentioned, the furniture will be rolling in bit by bit as over the next two weeks. Lets hope I manage to find a nice mattress.
MBR Toilet. Mirror makes it look much bigger.

MBR Wardrobe. I hope its enough for the two of us.

Off to bed, and let's hope I have time to post more pictures tomorrow.

Wednesday, July 7, 2010

Let there be light

As I mentioned a few posts earlier, we had bought lights from Marsling Lighting House. Good prices, good service, and they provided a decent range for your regular lighting needs. Yes they might be a bit far away though. Anyway, we didn't buy all our lights from them though, as one particular light, the centre piece of the living room, would be purchased from Million Lighting in Park Mall. (Google: Pirce from Artemide)

Anyway, all lights are up less the one in the living room which is due to arrive this week, essentially becoming the finishing touch of the house. Here are some pictures:

Entrance Lights

Living Room Lights

Kitchen Lights

Study and Guest Rooms

Common and MBR Toilets

Now, for some reason, I failed to locate the picture of my master bedroom. Will update this post once I manage to dig it out.
Having saved the best for the last, the almost completed picture of the common area lies below.
I finally got the panaromic shot right!

Well, that's all for now. There are still a lot of kinks to be ironed out, but hopefully we can see the fridge, TV, furniture roll out slowly bit by bit.

...We're just halfway there, keep on moving...

Tuesday, July 6, 2010

Carpentry and plumbing

Almost there to hand over...

The carpenters were here the entire of last week and this. The kitchen island was the first to be up, along with the MBR wardrobe, before the set-up of the tall unit of the kitchen and the little console for our SCV box and PS3.

Before the pictures come in, I must say that one has got to keep a close eye for the small little things. Fortunately for me, I had a wife with a strong eye for detail and was able to spot all the tiny little defects here and there. On the face, things looked good as the apartment took shape, but if you looked closely, there were problems with the skirtings, the laminates of the cupboards, the switches, the walls, the ceiling, the painting, everything had glitches here and there that amounted to quite a substantial bit. (of agony)

Future home owners beware, fix it, before your aunties get to them first.

And now for the pictures:
Building the island
MBR Wardrobe
More Carpentary Pics

The above are the pictures of the fabrication, and below is the end-product, well, almost.


My kitchen faucet!

One thing that we had to do, when bringing down the entire kitchen wall, was to somehow hide the yard that was connected to it. The tall unit was the ultimate solution.
Now you see it, Now you don't

Think this is enough for one post, will post the pictures of the lights after installation soon.

More pictures of the carpentry works can be found here.

Thursday, July 1, 2010

Color the world

The last couple of weeks have been pretty packed with various activities for the two of us and I finally manage to find time to update our blog.

In the last two weeks, we have finished up the marble flooring, after a lot of pain and anguish (not kidding), and the lighting started, followed closely by the carpentary.

The painting work was done up reasonably fast, though there will be another round of touch up towards the end of the project. We had earlier chosen the colors over the weekend and have the color plan below. The effect of the paint job was quite siginificant in the sense that it completely changed the look and feel of the place (the old orange walls were gruesome to say the least).

By the time we found time to check out the paint job, parts of the lightings were already fixed up, and that really made the place look more spacious and clean. My favourite area then was probably the balcony. The light we chose matched the chengai decking perfectingly, and created a really cosy atmosphere at the area we planned to use for chilling out and relaxing after a long day's work.

Paint Plan

Painting Process
MBR Wall
Study Room

I like the look, and all that's left here is the Chengai sanding.

So far so good as far as the painting is concerned, though there is still much to worry about with regards to my flooring. Hopefully we can get that sorted out soon and I can then post pictures of that up here.

Will be posting carpentary pictures up soon, so watch this space.

Sunday, June 20, 2010

Lights and furniture

The last couple of days have been spent on acquiring lights and the basic furnishings. As our sofa has already been bought from Massimo, the main furniture outstanding was the bed, then followed by our bar stools (so that we have a place to sit to eat dinner), and my work desk.

We went to a couple of places to check out lights, and without a doubt, the first place was Balestier Road. The downlights in the living room, MBR and kitchen were simple enough, and we decided on LED lights for the old dinning room (soon to be our little piano / art corner). The difficult part was the entrance lights for the apartment and the MBR. We found some nice stuff at one the shops in balestier, and got an intial quote, but didn''t sign up right away (mainly due to my missus' occupational hazard).

We went to Marsling Light House the next day. It was a little neighbourhood store, with two shophouses a few units away from each other, and it offered as much variety, with 10-25% cheaper in cost. Without mentioning the figures, we managed to get the entire package at around 85% of the quote given to us by the shop in Balestier. (In absolute terms, the savings were rather significant.)


Some of the lights that we bought

The next thing that we went in search for were the furniture. The bed, even till now, has been our biggest headache, as we have yet to see a bed frame that wow-ed us, and match the theme of the apartment. We have been to the furniture mall, IMM, and the most dissappointing was Sungei Kadut. (maybe we are just blind) We've managed to shortlist a couple of beds, one at scanteak, and another at furniture mall, after much effort, and should be making a decision on either one very soon.

The most difficult thing to find, wasn't the bed though, but the elusive bar stool. We have been looking for something comfortable but elegant, and have yet to find anything that suits the theme of the apartment. Lets just hope that we can eventually figure that one out, though it is not as urgent as placing the order on the bed.

Fingers-crossed, lets hope we can find everything on time.

Marble polishing, Parquet, and Chengai

After a really busy week, we finally managed to have a look at the apartment again. Phew~~

The floor tiles, parquet and my missus' chengai decked balcony was all layed out nicely and the "marble masters" were onsite to polish the tiles when we visited this morning. All the doors were removed to make way for our new verneer doors, and we could see markings for where to install the carpentary stuff.

Marble flooring in the living room (unpolished)


Chengai Decking in Balcony


Parquet (unstained and unsanded)

Over the past week, we've been discussing with our ID about the carpentary, and we will be using the IKEA Rationale drawers to build our larder unit. We will be needing some slight deviations from the normal carpentary standards such as a slightly deeper carcass, and quite a bit of time was spent to ensure that the carpentary details were sorted out clearly. We had to endure some frustrations and long discussions, but everything worked out eventually and we're now looking forward to have the woodwork done up and installed.

Next week, painting, installation of lights and electricity, and the first wave of carpentary will be arriving!

Thursday, June 10, 2010

Finally Flooring

This week is all about tiling and flooring. Volacas marble for the common area floor, homogeneous tiles kitchen floor, and parquet for the bedrooms.

Just went to the apartment (I think its hard to call it a work site any more) to take some pictures and was glad to see that the workmanship is actually very good. The tiling master tried to do a "dry-lay" of the marble tiles by matching similar grains to give the floor a more consistent look. After one day of selection and planning, and two days of cementing works, the bulk of the common area flooring is complete and we could broadly see the apartment take shape.

The white floors really make a difference, adding a much more spacious feel to the otherwise dark cement screed underneath. The slight reflections on the marble floor also makes the room seem a lot taller, despite the false ceiling coming a little lower than what we would have liked.

The panaromic view (again). The white and slightly reflective floor makes the room more spacious.

I also checked out the common toilet feature wall today. Our ID had mentioned that the toilet was a bit plain and decided to do a little bit of art using normal wall tiles but with some special arrangements. Both our mums who have seen it prior to us had mentioned that they loved the wall, and our ID was very creative, and the tiling master very skilled. (Yes, they like to visit the apartment every other day. Especially my semi-retired dad.)

The feature wall
Tiles and the pipe that REALLY needs to be painted

Looking forward to the completion of the flooring and tiling next week. That will mark the end of all the heavy works and the beginning of the painting, lighting and carpentry.

Reaching the final turn.

Sunday, June 6, 2010

False Ceilings and Making Trips

A week has passed, and wow, has the place changed! When we went to the work-site today, the electrical and aircon trunking were all done up, with the workmen touching up the last bits of the false ceiling. Things were looking pretty good as the apartment was slowly taking shape.

The MBR toilet was fully tiled up and it was nice to finally see one "room" taking shape!

Here are some of the shots that I took this morning.:
Dining Room FC with steps

Living Room and Kitchen (background)


MBR Niche.. Looking good I.M.H.O.


MBR Toilet Floor (Look closely to see shower area drop)


After visiting the house, we made a quick stop to Sim Siang Choon to buy our toilet bowl and completing our sanitary ware purchase. (The final bill was not huge, but still sizeable and ballooning our budget further). 

After that, we stopped by Massimo at Ubi Tech Park to have a look at our sofas. I'd been looking at their sofas for a while now, with the various designs named after different kinds of Italian pasta. The thing I liked about their sofas was that they look modern, and had a large range of fabrics you could choose from to customize your own sofa. We found a rather nice chaise and a sofa model named Risi and are just waiting for our ID to come down with us a second time to decide on the fabric and color before making our purchase. (Lead time is 4-6weeks, we'd better start moving...)
The Risi. We're customizing a 3m long sofa. (No L please)


We then chanced upon a outdoor furniture store right across the lobby to Massimo named Soflex (with a red "O"). I'd been looking around for nice water features for a while now to no avail and this shop had some really nice stuff that both my wife and I loved right away! This discovery basically made my trip to Ubi Tech Park more worthwhile that I had originally planned it too. "Chancing upon gold"

Nice and unique water feature @ Soflex

Next week, the marble and parquet flooring will begin and last for at least a week and a half. Meanwhile, me and the missus will be out hunting for more stuff for our new home. 

...Time to buy the bed....


BTW, links to more pictures can be found here

Tuesday, June 1, 2010

Plumbers, Electricians and the Fujitsu Men

If there is a problem every young couple must face, it's all the questions their parents, aunts, uncles will ask about their renovation. In our very Singaporean way "This cannot, that cannot.. This one how? That one lei?". Grrhh.. Work is already stressful enough. 


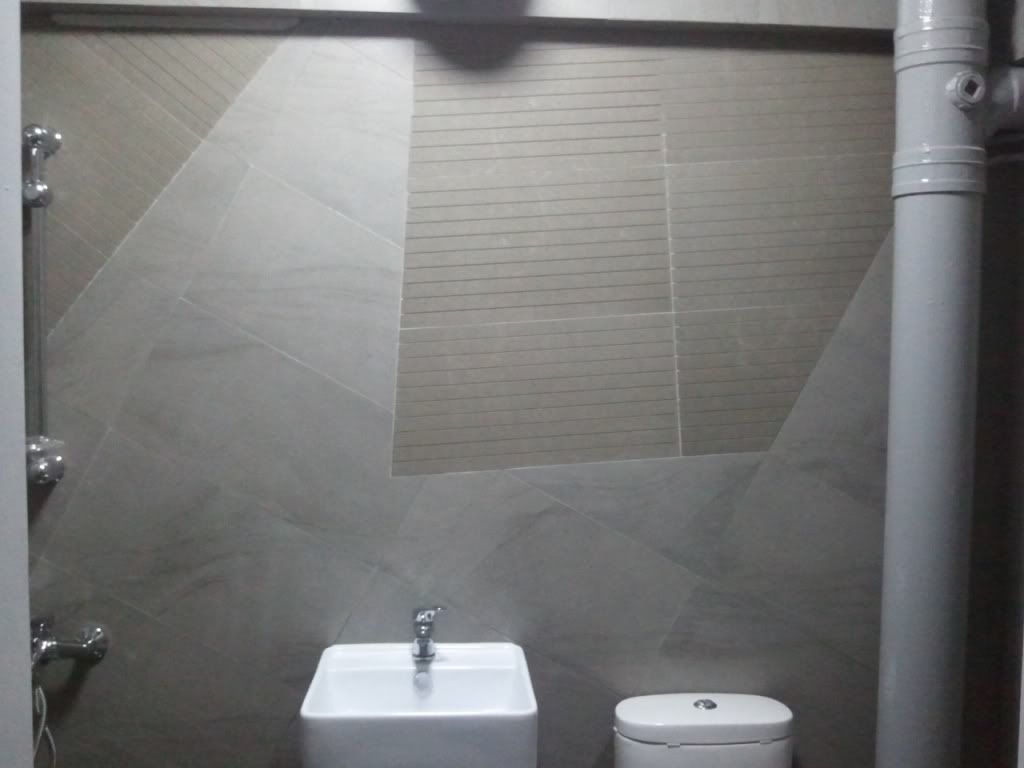
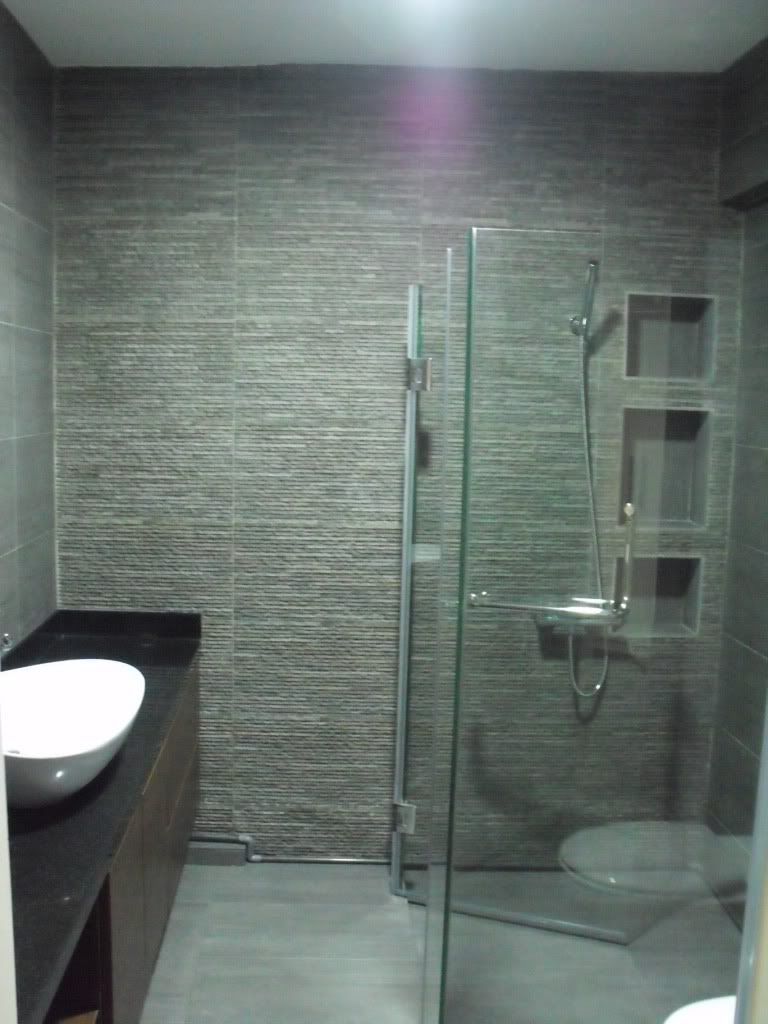
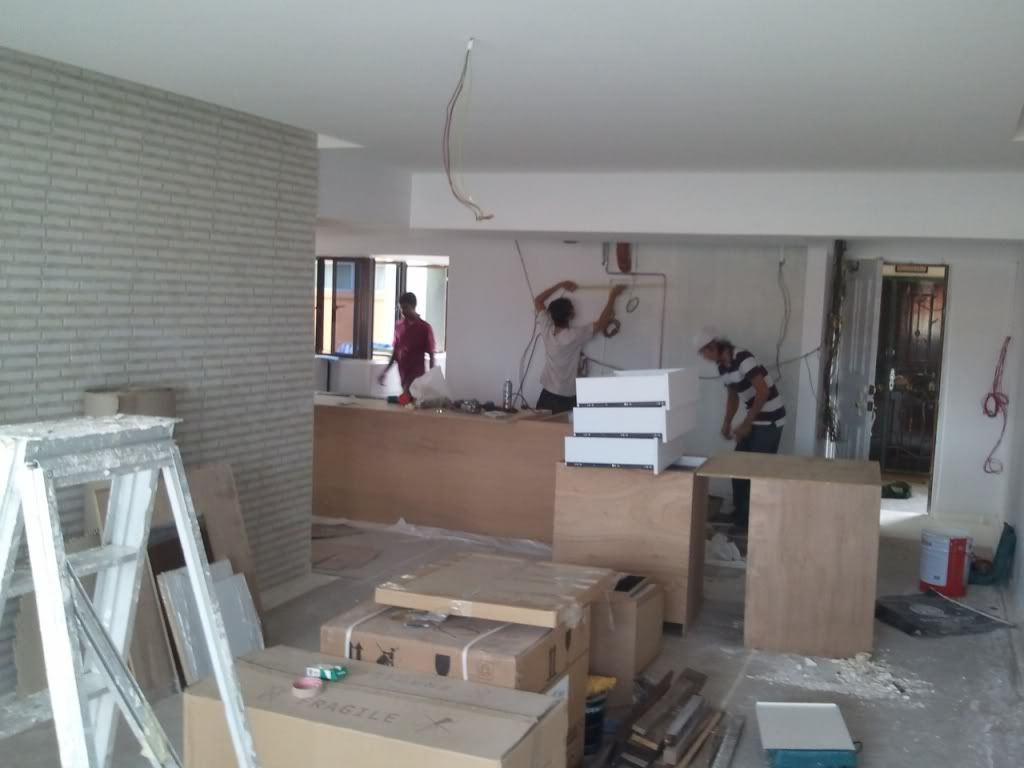
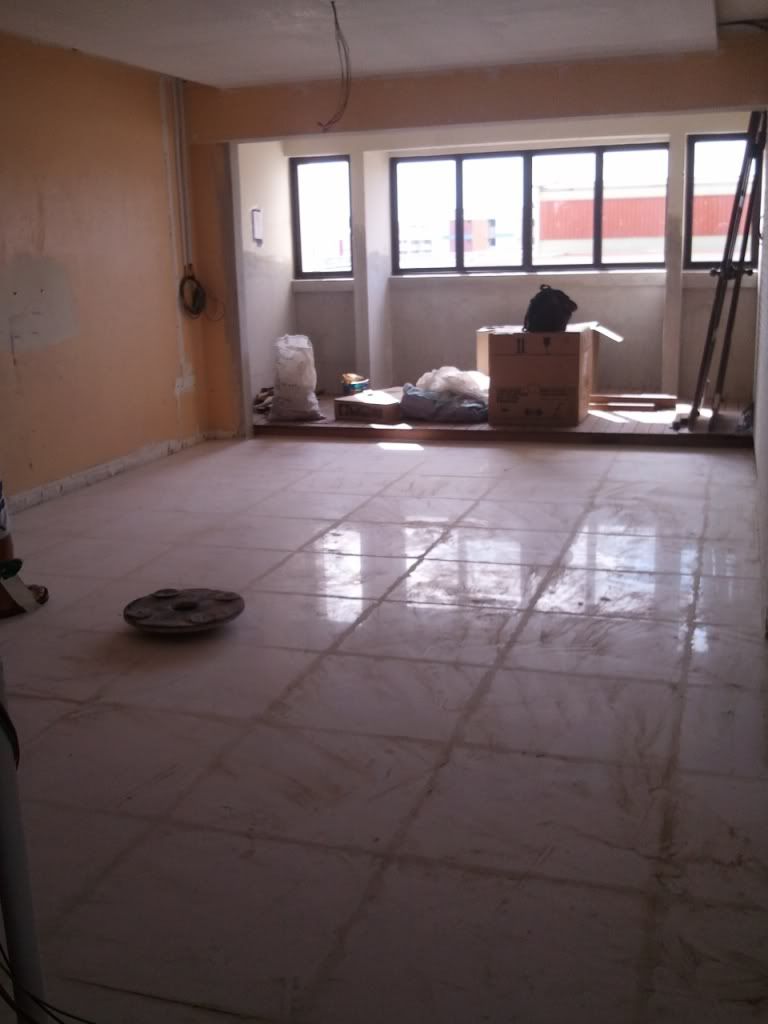
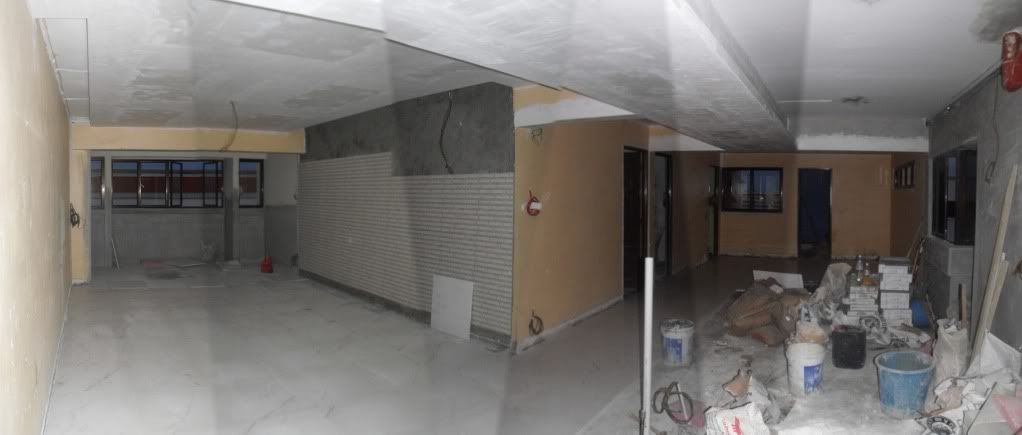
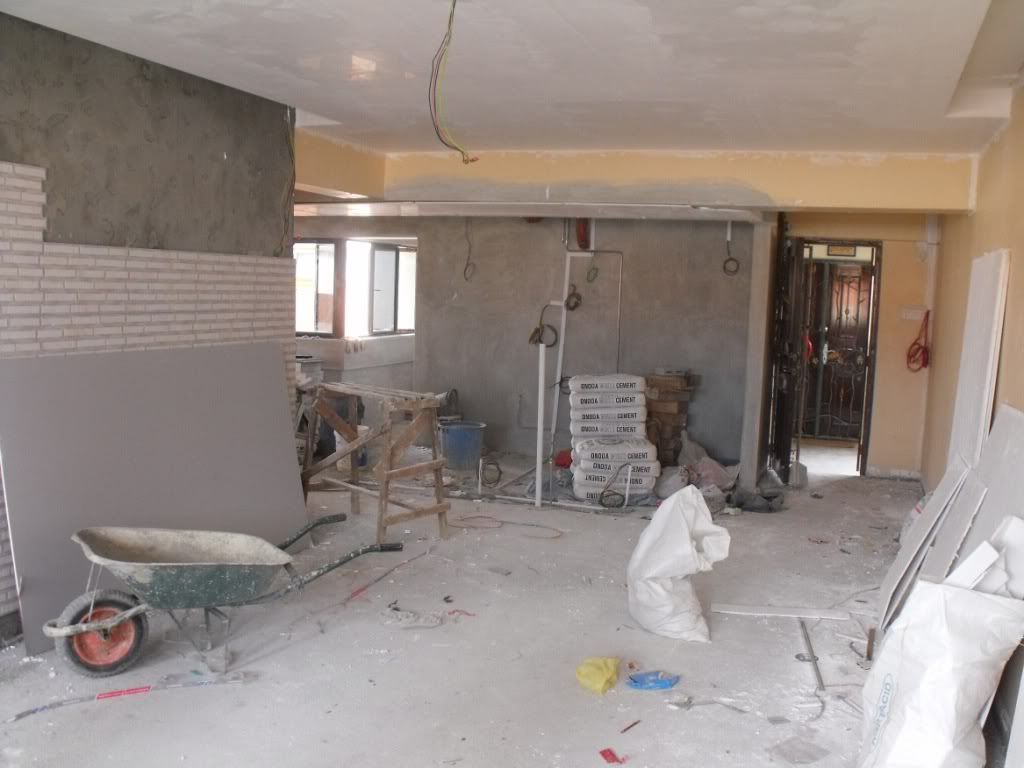
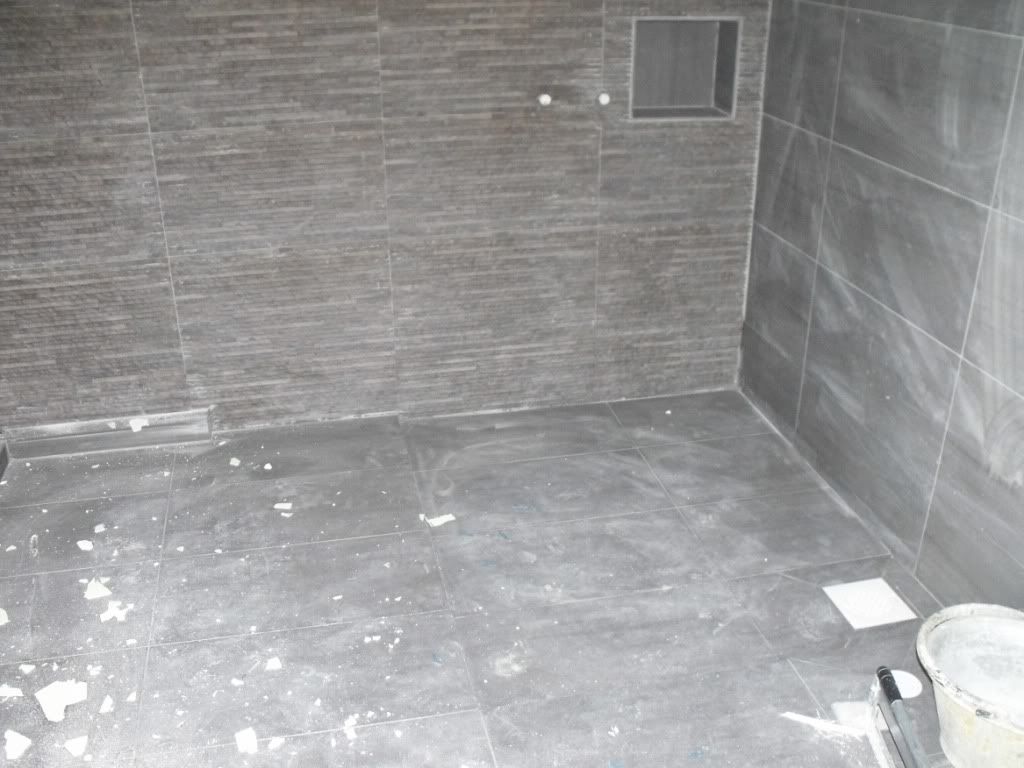
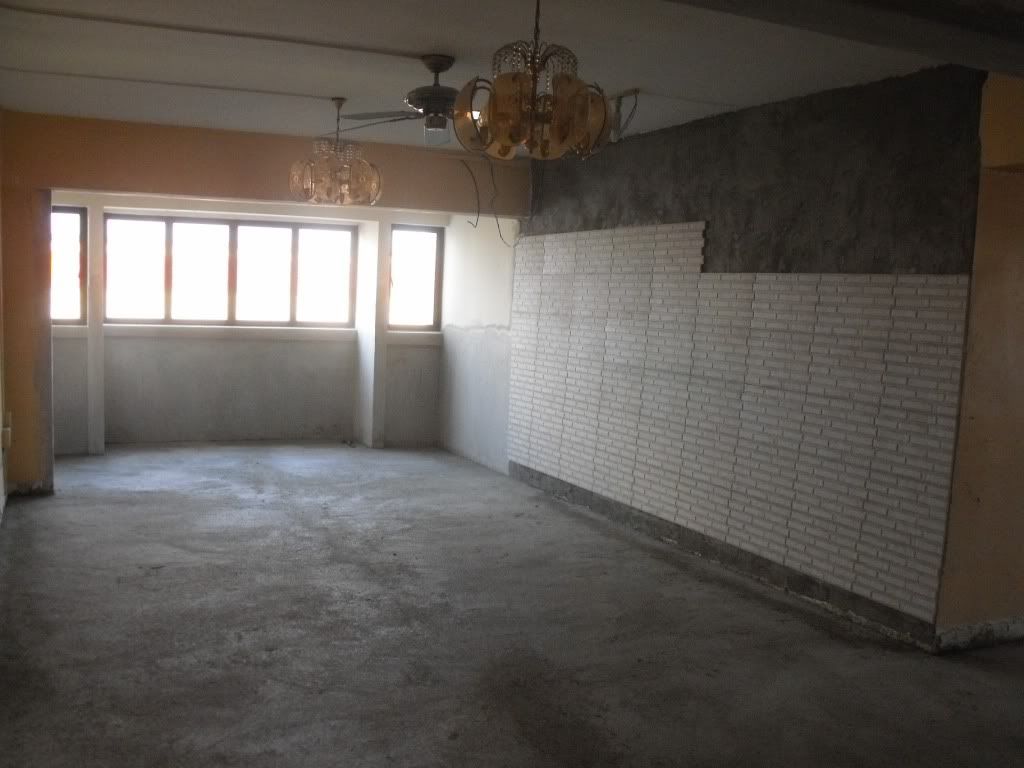
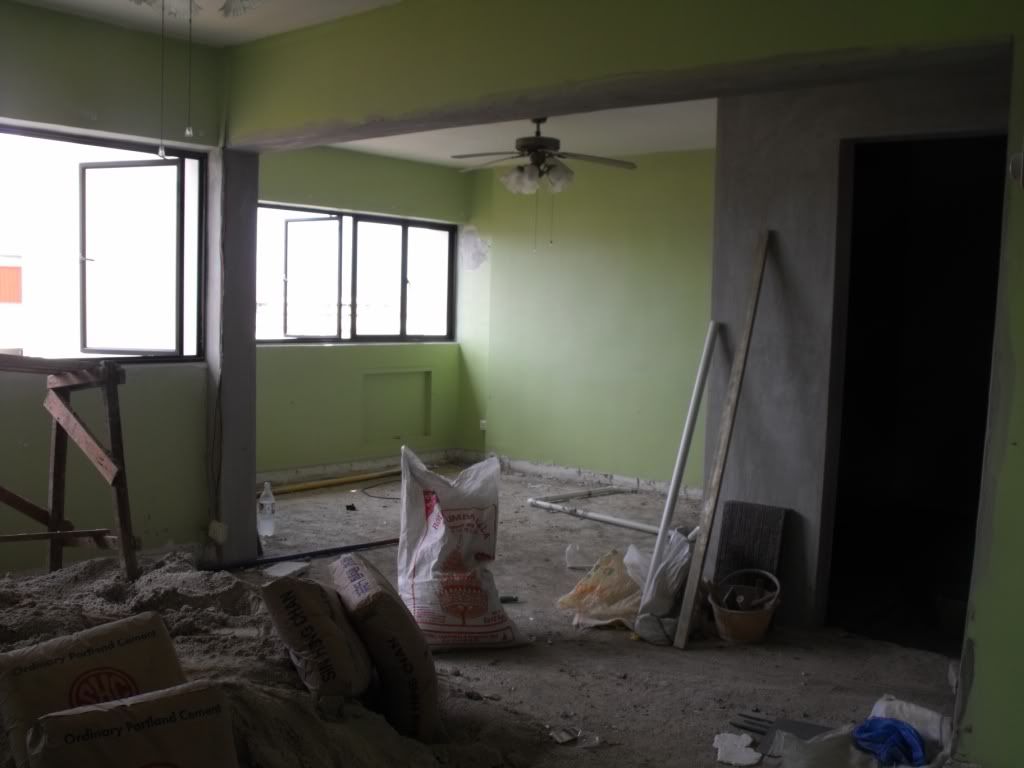
I went to the work-site today to check on the progress of the renovation. We had cement screed the entire living/dining/balcony area and also finished all the wall tiles of the two toilets. (No photos till Saturday as I don't like to bring anything on me to work, hence the lack of a camera).

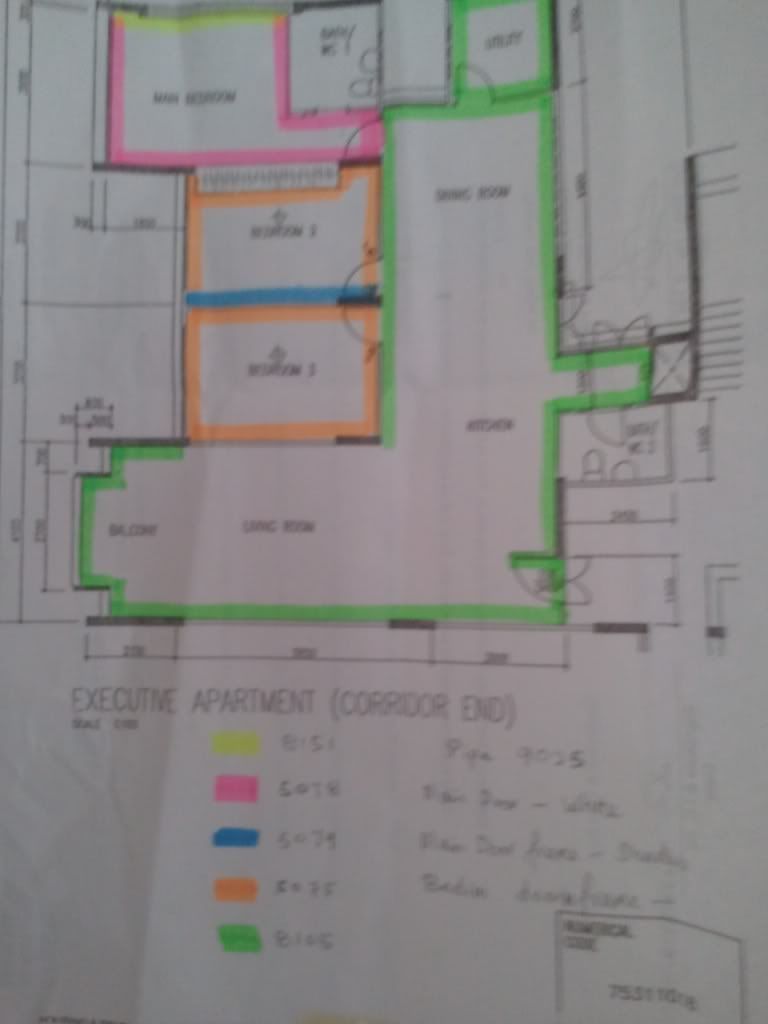
The plumbers had finished up the toilet piping the yesterday and all the pipes were looking neat and tidy, much to my liking. We found some flaws in the pipe bending in a particular area, but was reassured by our ID that it would not be a problem at all. IT'D BETTER NOT BE... 
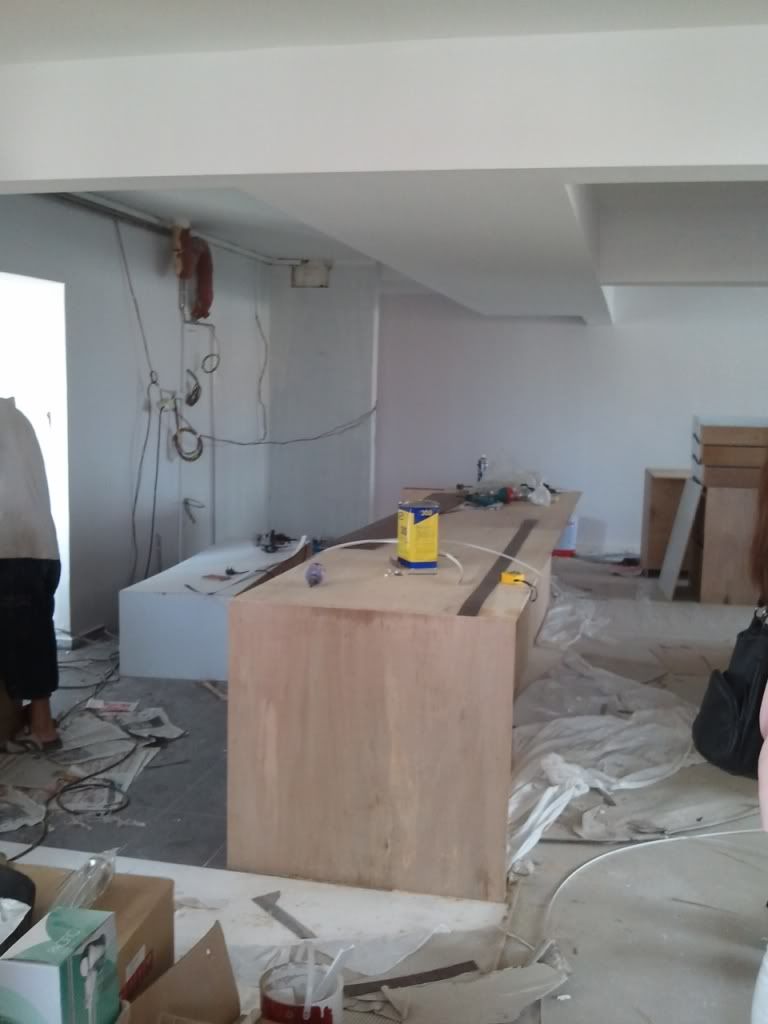
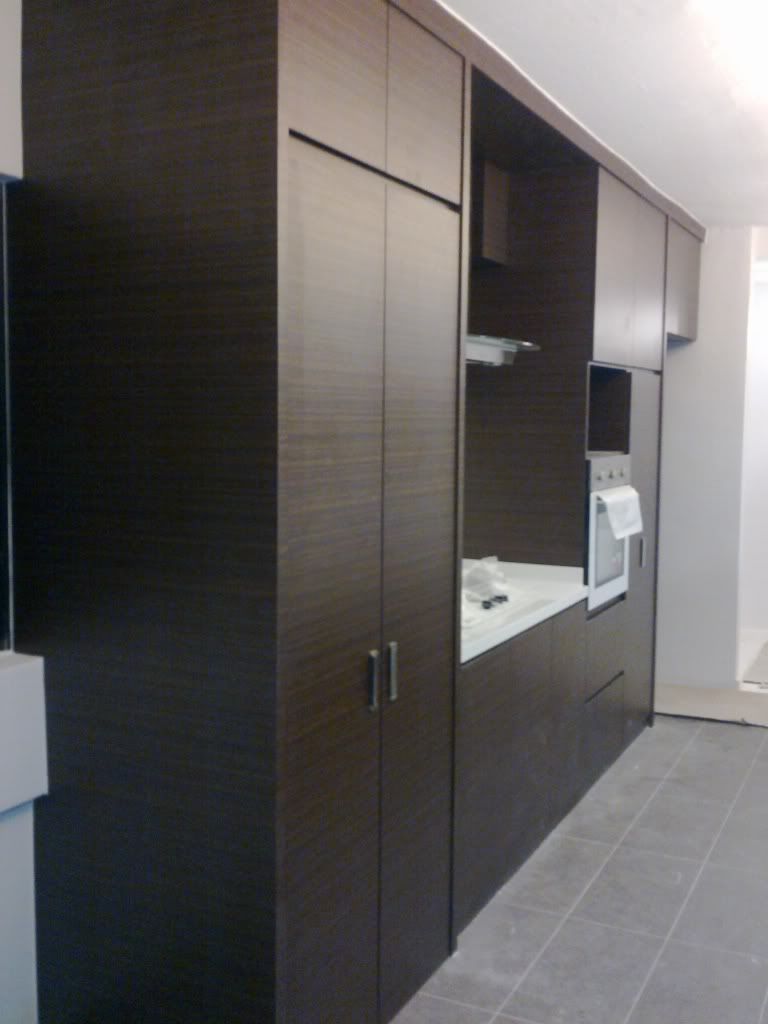
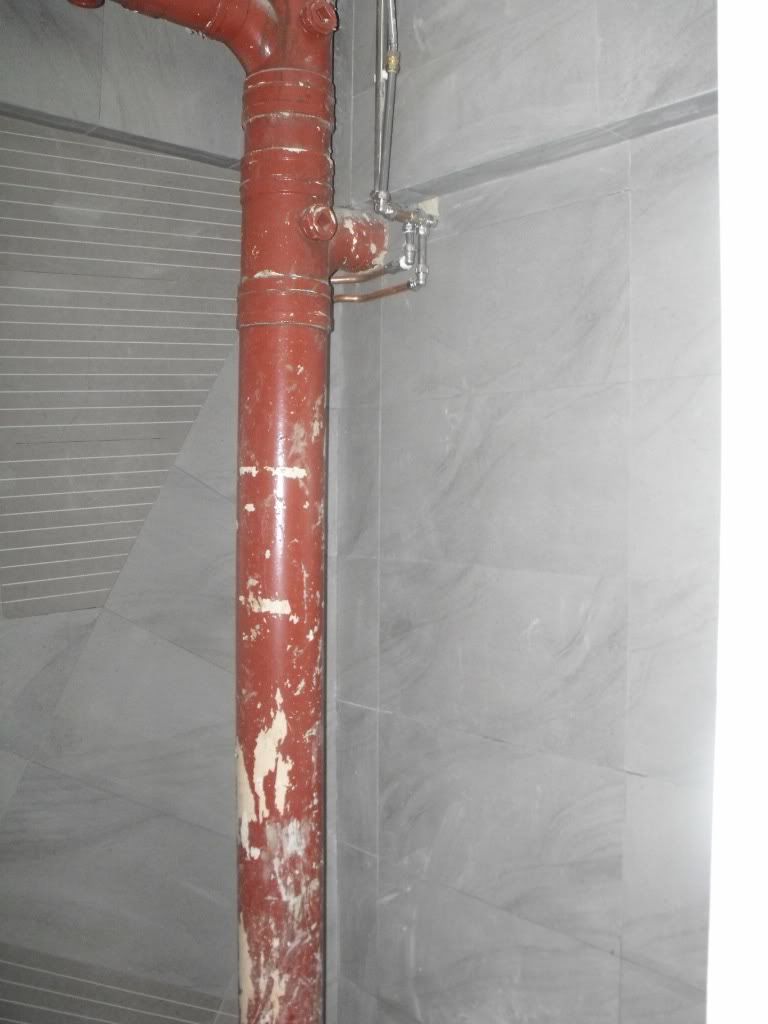
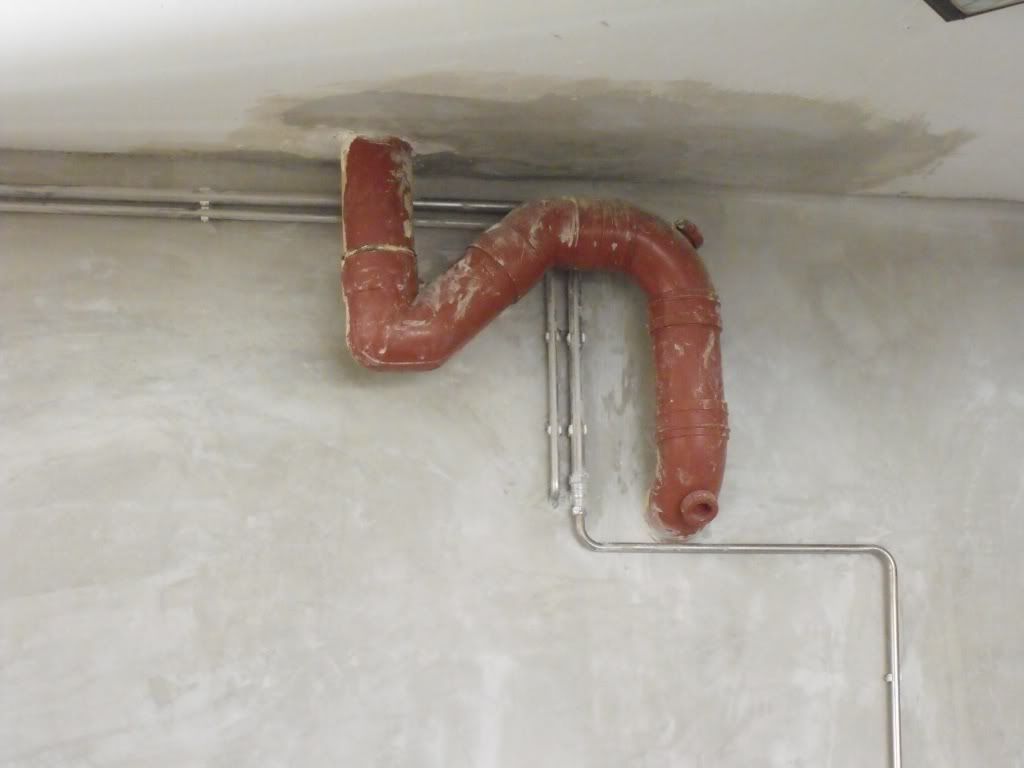
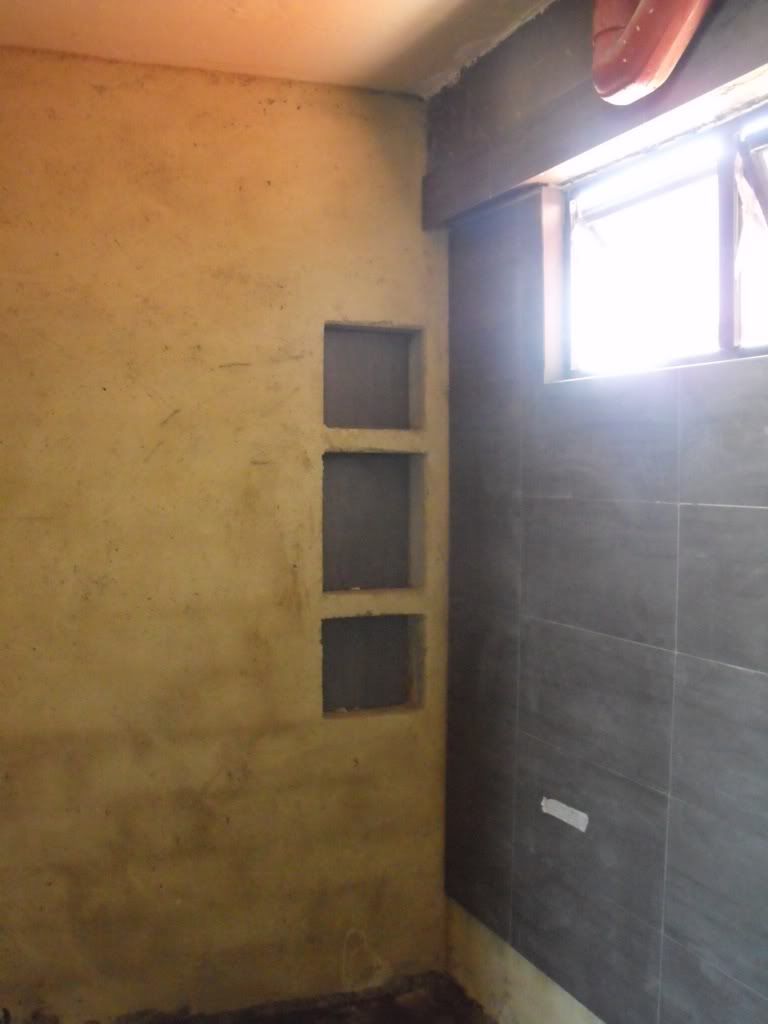
Id' also like to highlight a really UGLY drainage pipe I had tried not to face all these while. Anyway, this will be covered up by my tall unit, so its not too much of an problem apart from me having less storage space.
...this is fugly...nice neat pipes behind though...

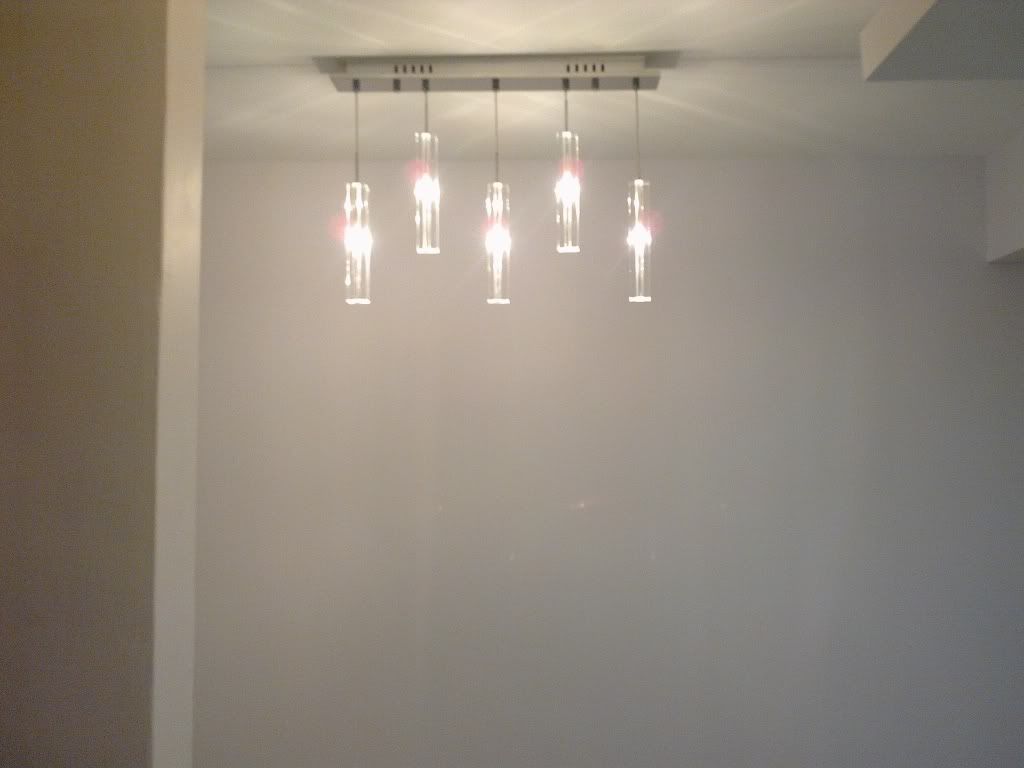
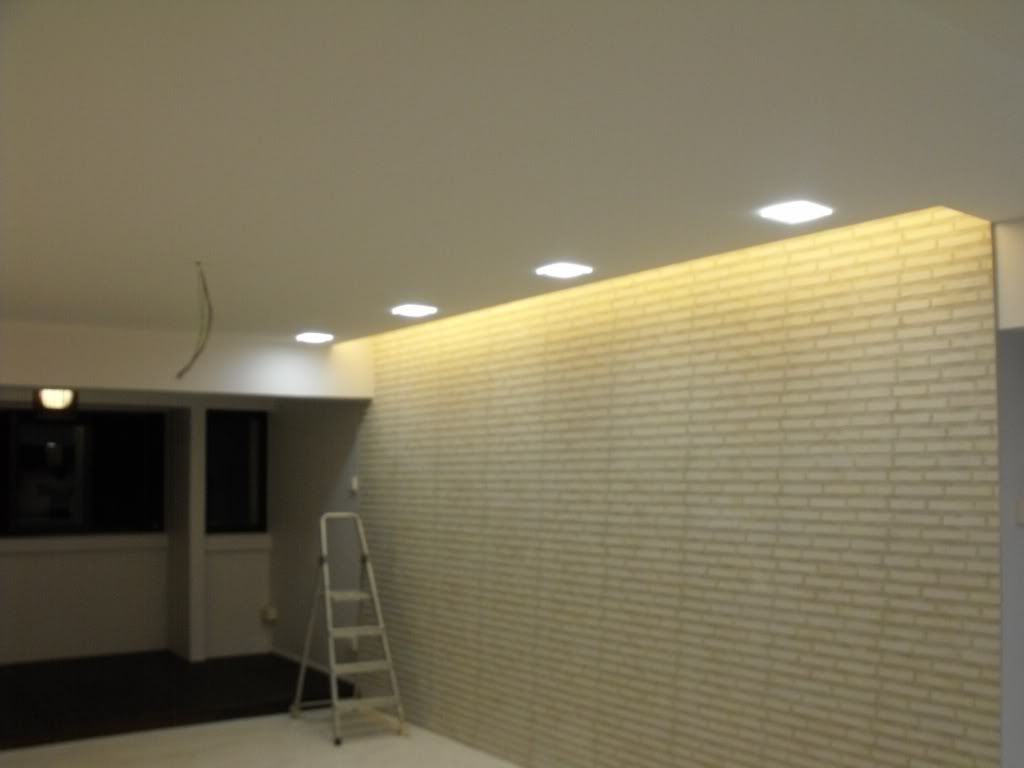
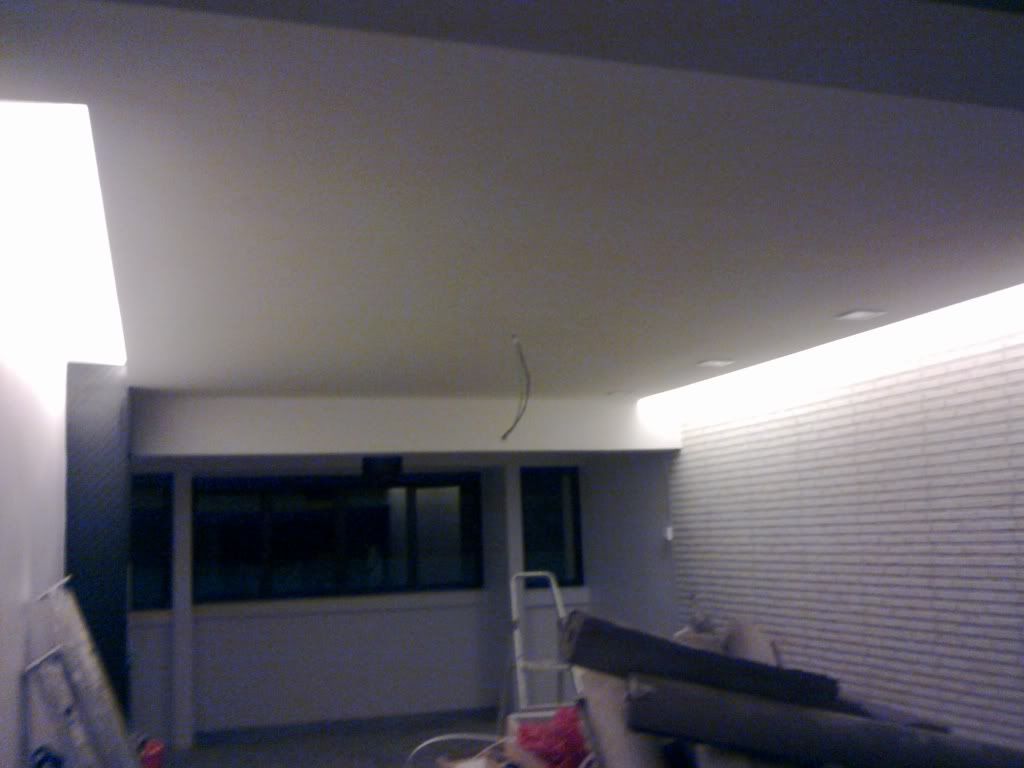
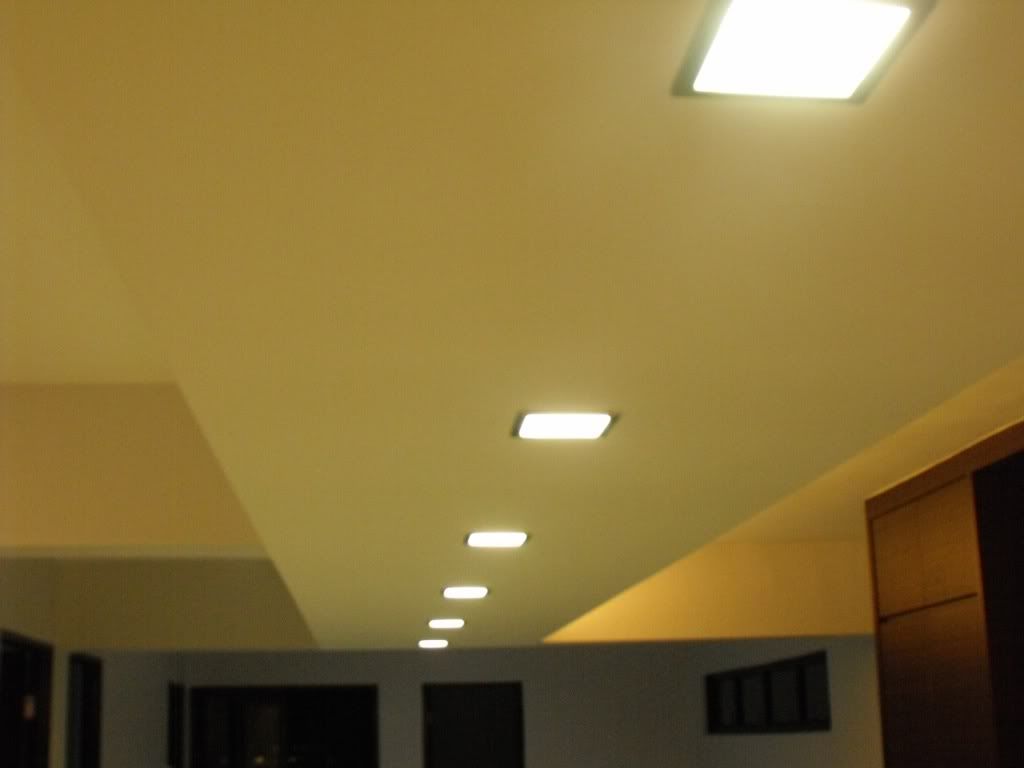
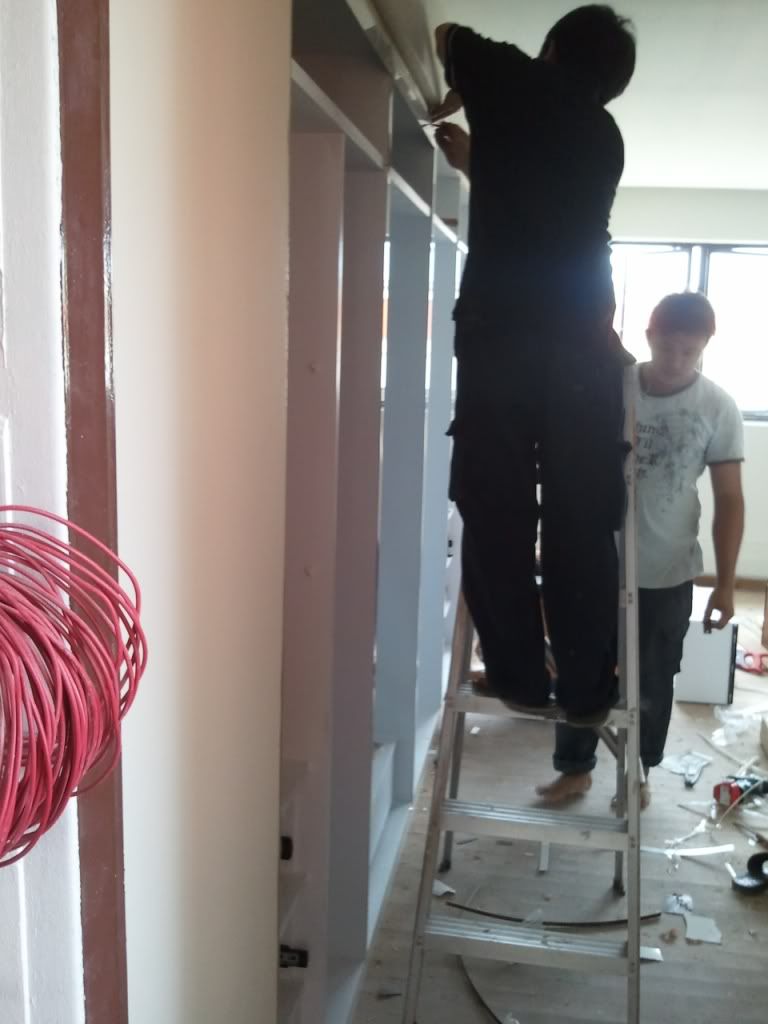
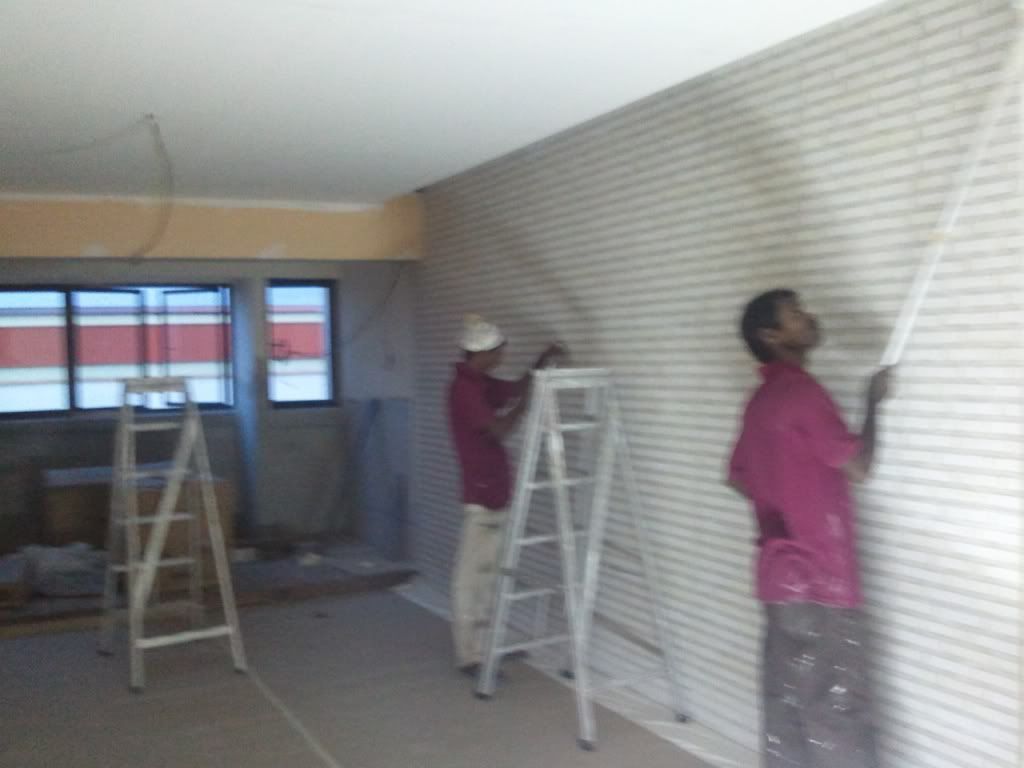
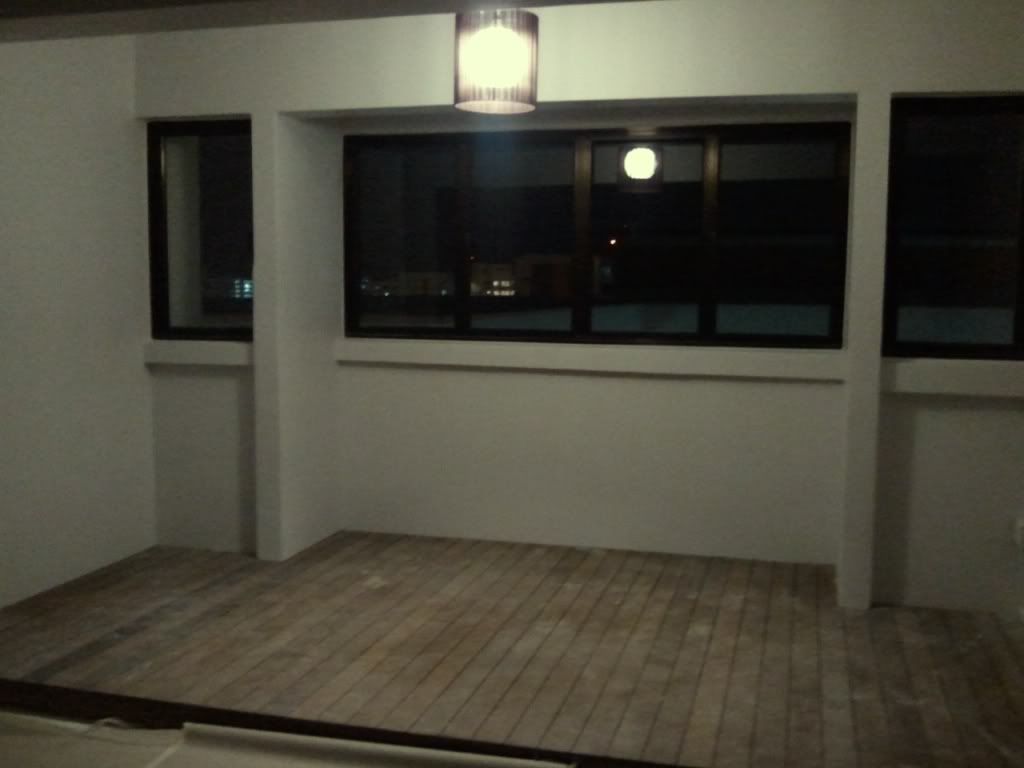
The big activity was the electrical wiring and the electrician was there to start wiring up the entire place. The old wires, lights and fans were completely torn down this morning, much to my relief. The old lights were a real eyesore. The some of our initial wiring plans had to be altered due to physical constraints or other practical reasons we did not foresee, but changes were minimal and I was pretty satisfied with the work so far.

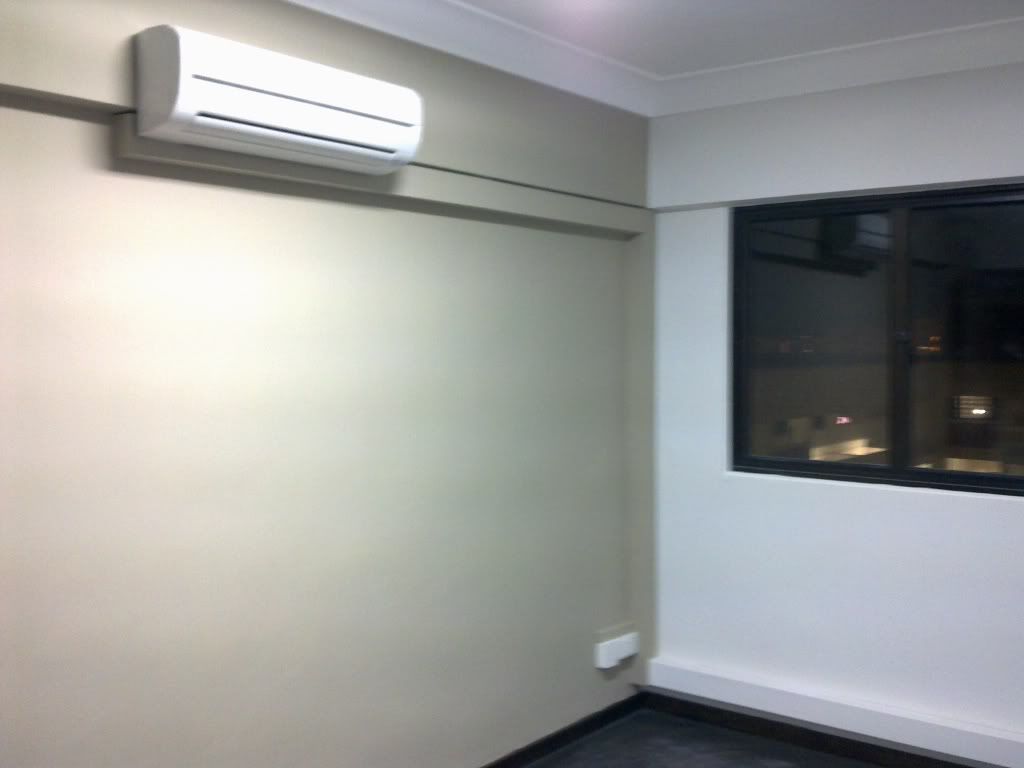
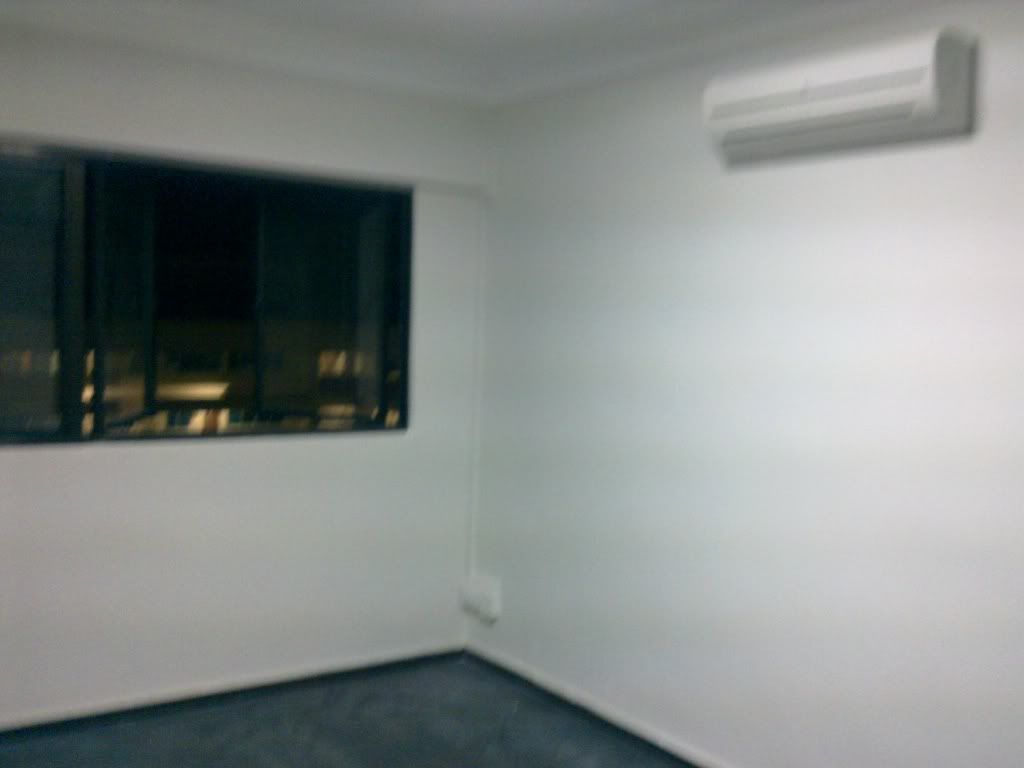
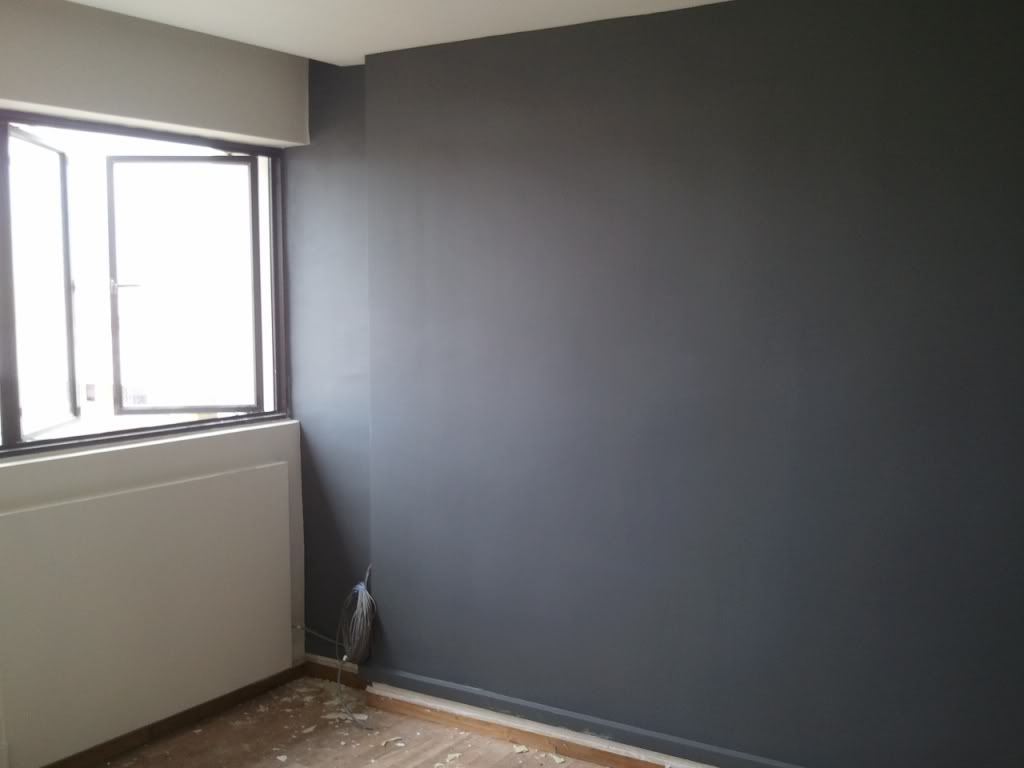
Then there were the air-conditioning guys that were there at the same time to lay the air-con piping. The trunking was huge (please note my current place has no air-con) and was a real eyesore. Our ID had proposed certain ways to conceal / camouflage the trunking, but due to cost reasons, we eventually kept it simple. (All my fingers are crossed that it will look okay.)

On hindsight, I realised I did not spend enough time on figuring out how to run the wires and air-con trunking, and would advise the folks out there to give it proper consideration. Our ID didn't really look to deep into this matter as well, so I'd say, "minus points". Anyway, what's done is done and no point crying over the split milk, or trunking for that matter.

The renovation is going on as planned, and I hope everything will turn out okay. Let's hope my work doesn't get to me before the renovation is completed. I've also started a parallel thread on Reno-Talk, though that will be more of a sharing of experiences than a diary of my renovation. Le's hope I can manage my time between the two.

Its June, the halfway mark. Let's finish this.

Sunday, May 30, 2010

Unlimited Wet Works

A reminder to all the new couples out there re-doing the toilets: Please ensure that you get the demolition guys to hack the toilet floor THOROUGHLY. I almost has a toilet floor level with my master bedroom floor.

It's been two weeks since the hacking was completed, and the wet works are well under way. The hacked areas have been made good and the cement screed-ing has begun. We went to the work site today happy to see that the living room mess (pile of sand and cement) has been nicely laid out on the floor and the balcony has been neatly levelled up with the rest of the home.
We seriously need to remove the ceiling lamps from this picture.. ughhhh...

Our ID has taken the liberty of choosing to conceal the pipes in both toilets (adding much aesthetic value as well as cost o.o) but the toilets are looking pretty good after the wall tiles (less the feature walls) got put up. We had stainless steel pipes running around the house and welded copper pipes behind the walls. I'd give the plumbing job a 7/10 without stating the reasons.

We also have a niche opening in the MBR bathroom wall for our soap and stuff, my wife have tons of these things, and the result was a little confusing. It's not that the job wasn't well done, but simply because the wall tiles were not up and you had a yellow wall with three dark holes. Lets hope this turns out okay. (In my ID I trust)
Niche built into our hollow block wall. Color is odd now.

Finally, our MBR wall has been knocked down to accommodate our wardrobe (see 3D drawings to understand what I mean). Looking at the size of the combined MBR and bedroom 2, I have a slight inkling to not build the wardrobe as planned and keep the place as big as it is right now. Well, realitically, I don't want to lose one more room so nothing is done. Observe the picture below to see what I mean.
The connected rooms can make one HUGE bedroom space

So that's a wrap for this fortnight's report. Next week, we'll be putting up the rest of the plumbing, electrical  points and false ceiling. Once those are done, the flooring will finally being. Anyway, links to the rest of the pictures of the wet work phase can be found here.