Almost there to hand over...
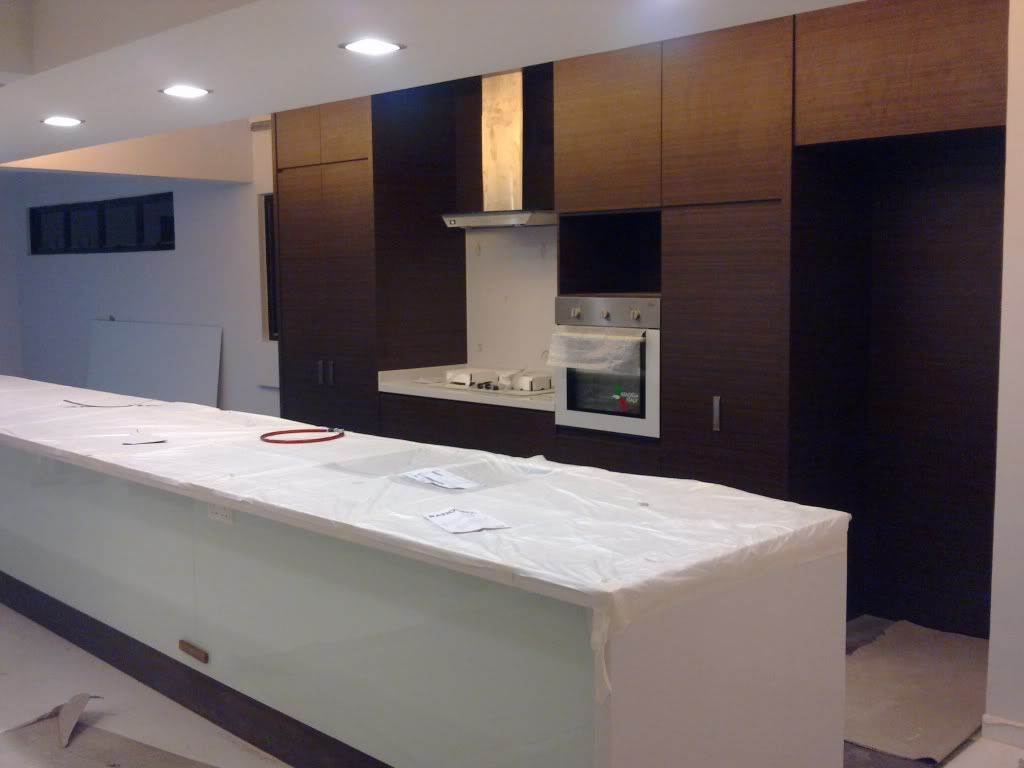
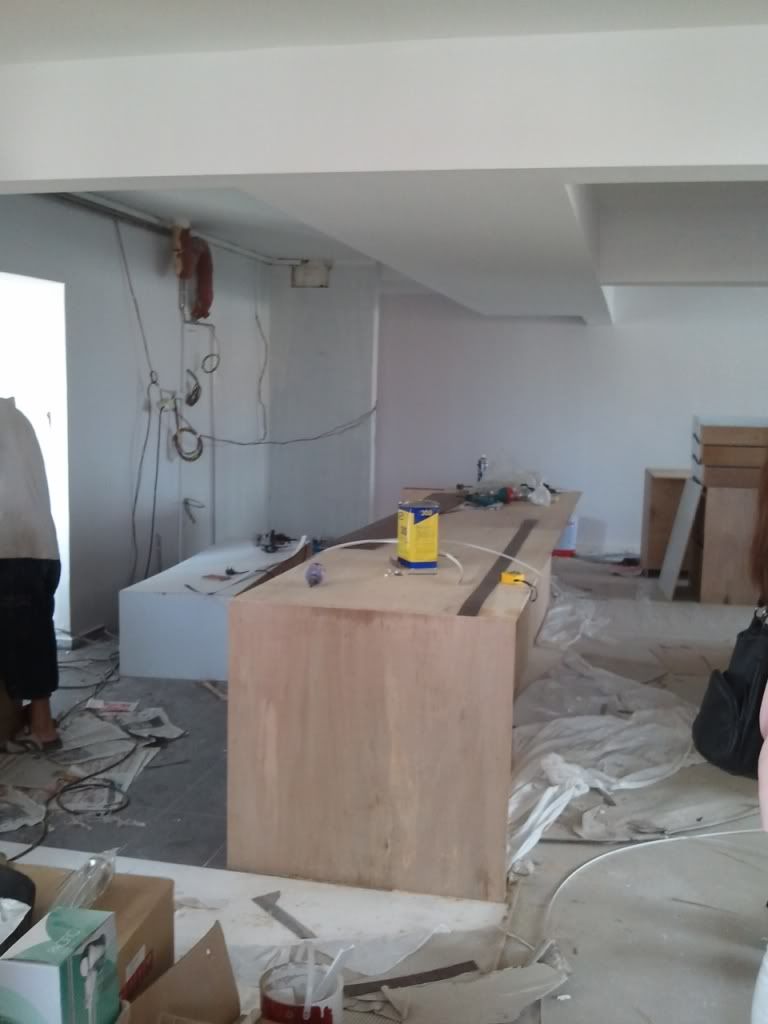
The carpenters were here the entire of last week and this. The kitchen island was the first to be up, along with the MBR wardrobe, before the set-up of the tall unit of the kitchen and the little console for our SCV box and PS3.
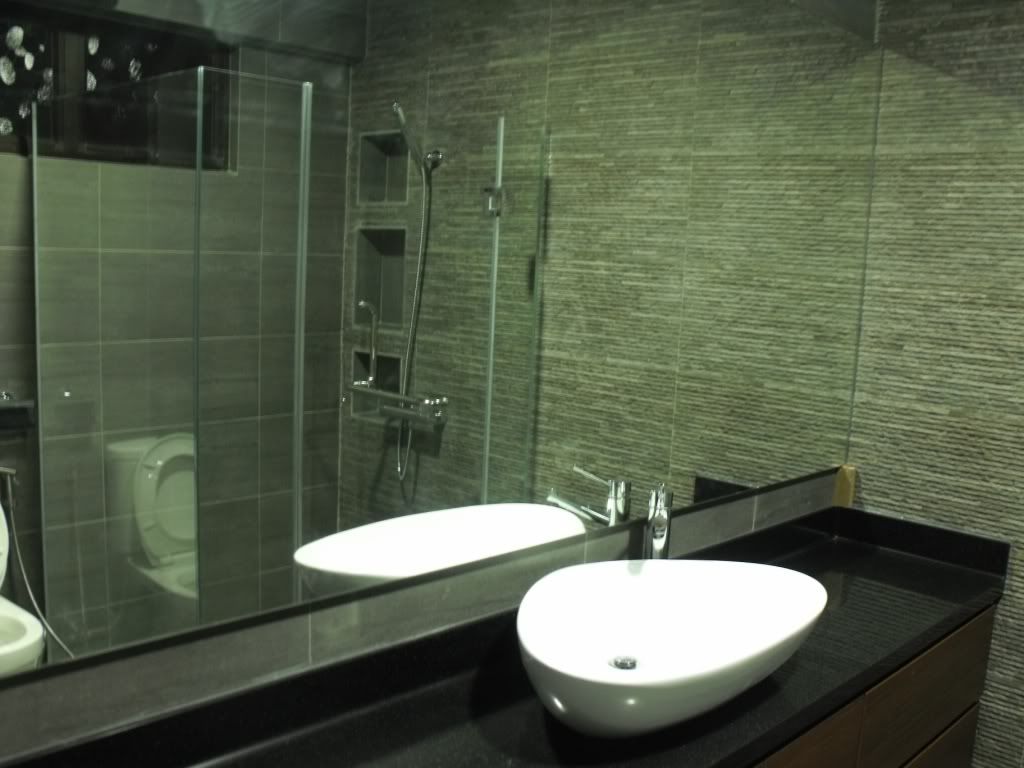
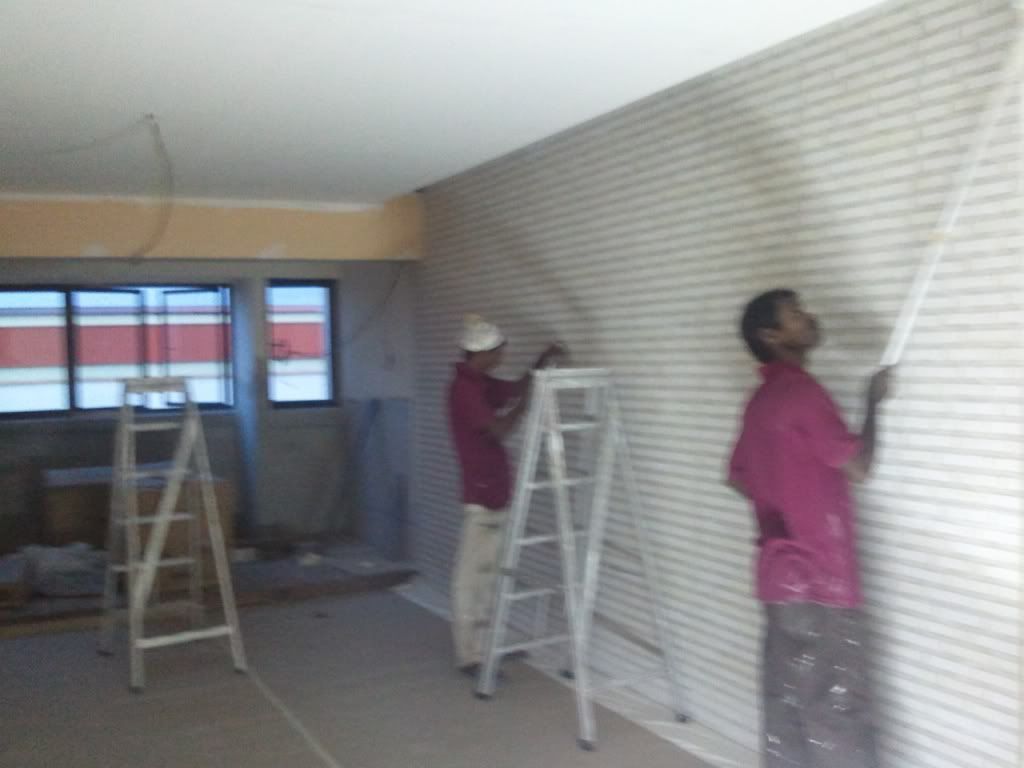
Before the pictures come in, I must say that one has got to keep a close eye for the small little things. Fortunately for me, I had a wife with a strong eye for detail and was able to spot all the tiny little defects here and there. On the face, things looked good as the apartment took shape, but if you looked closely, there were problems with the skirtings, the laminates of the cupboards, the switches, the walls, the ceiling, the painting, everything had glitches here and there that amounted to quite a substantial bit. (of agony)
Future home owners beware, fix it, before your aunties get to them first.
And now for the pictures:
Building the island
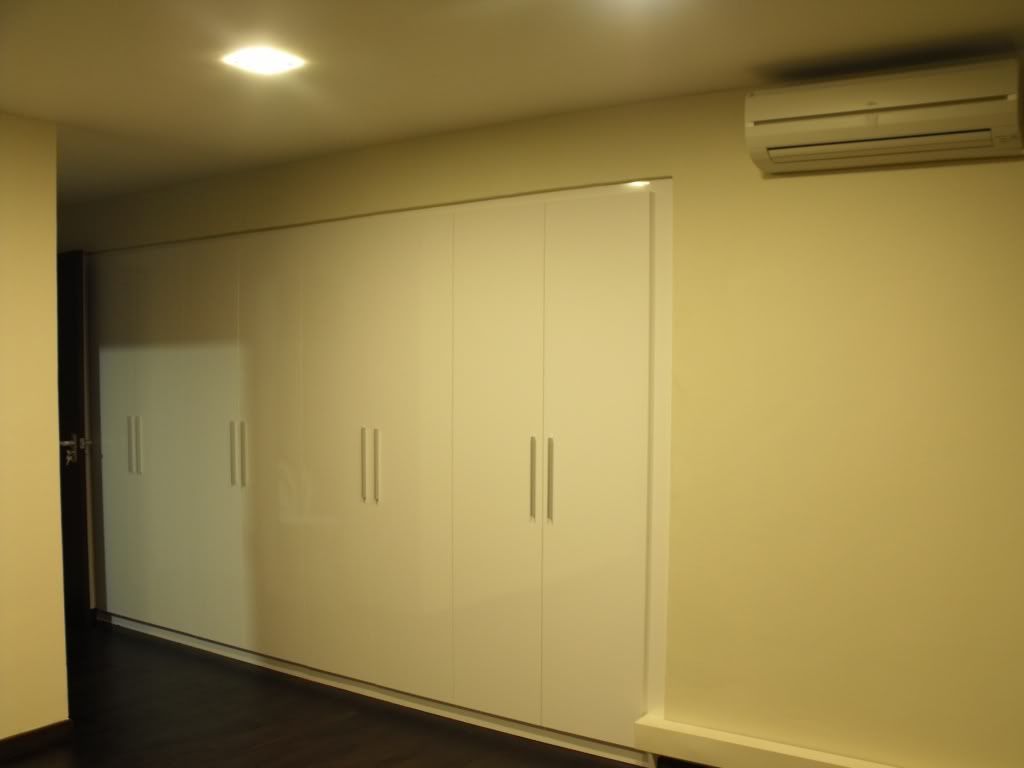
MBR Wardrobe
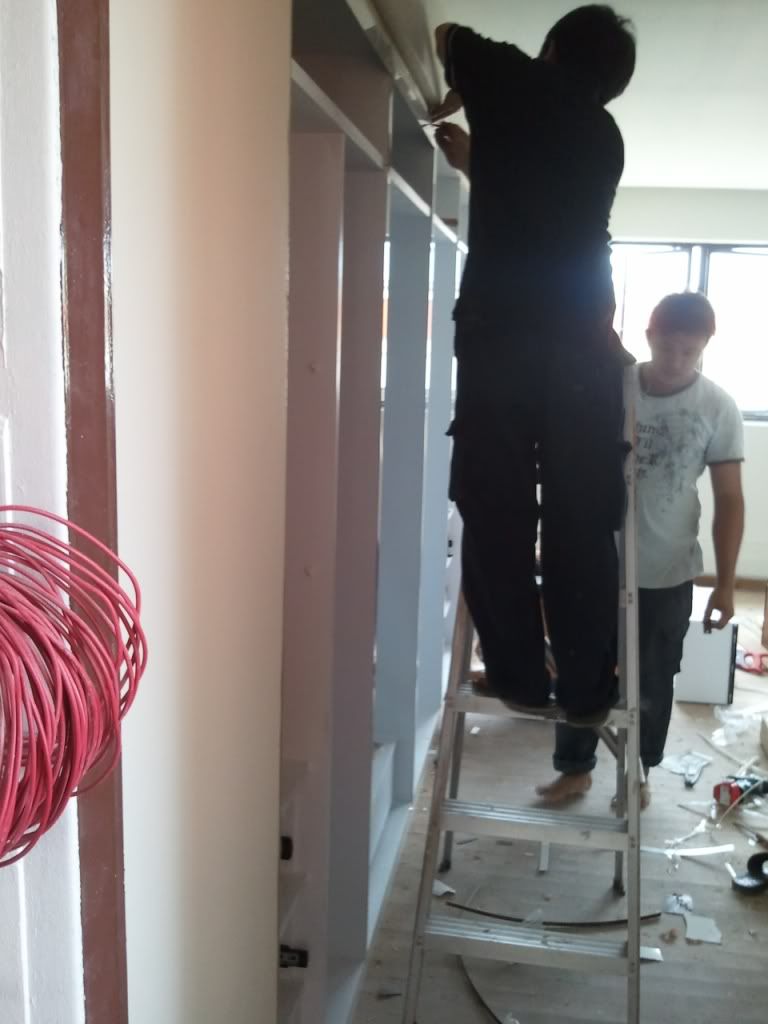
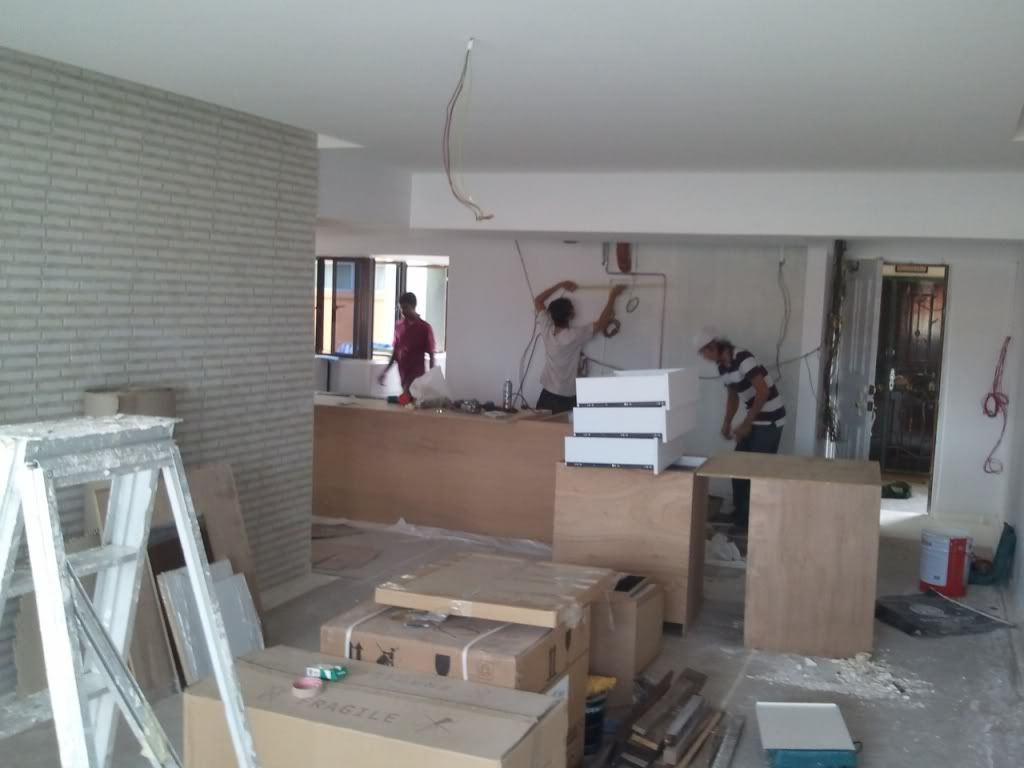
More Carpentary Pics
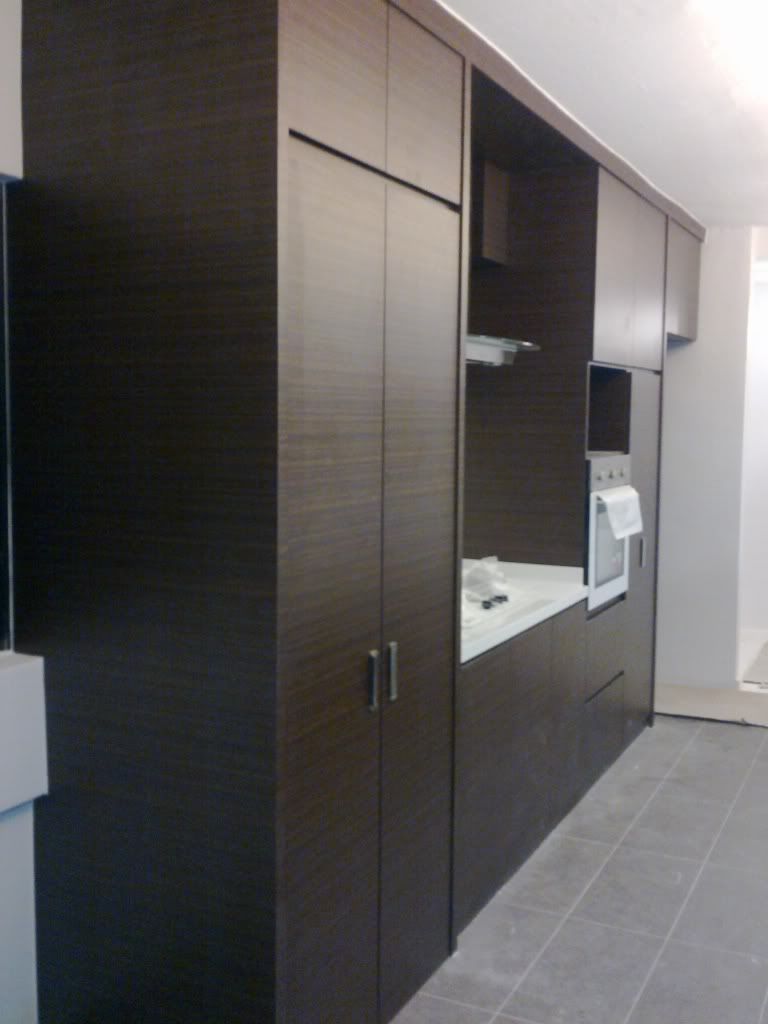
The above are the pictures of the fabrication, and below is the end-product, well, almost.
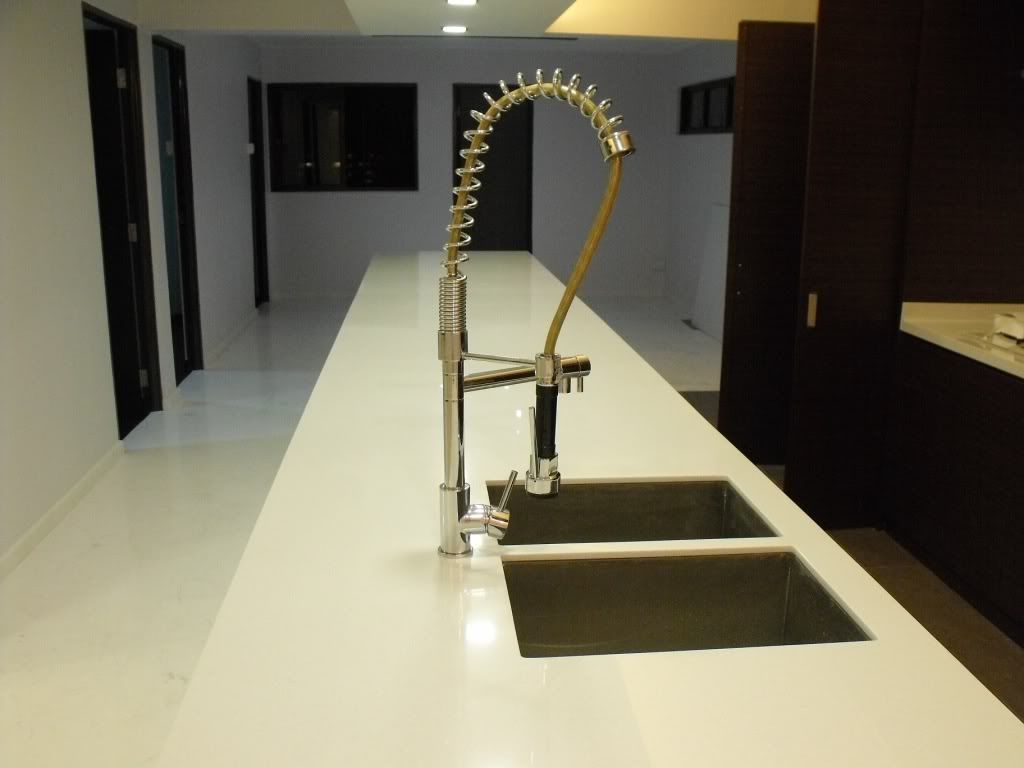
My kitchen faucet!
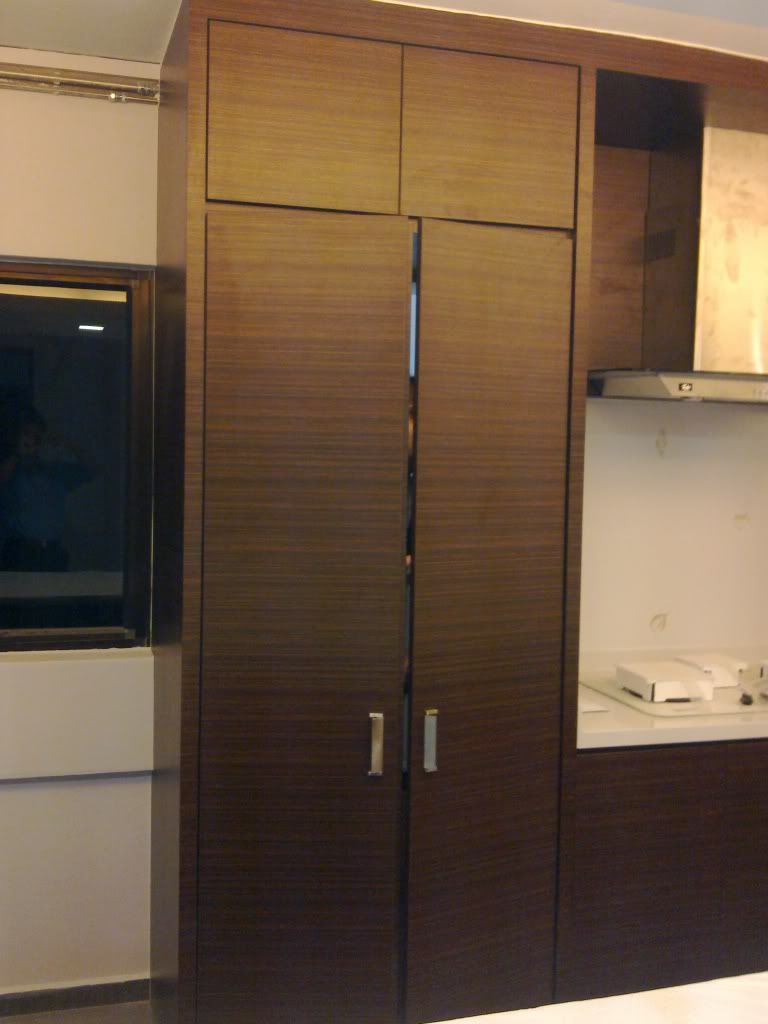
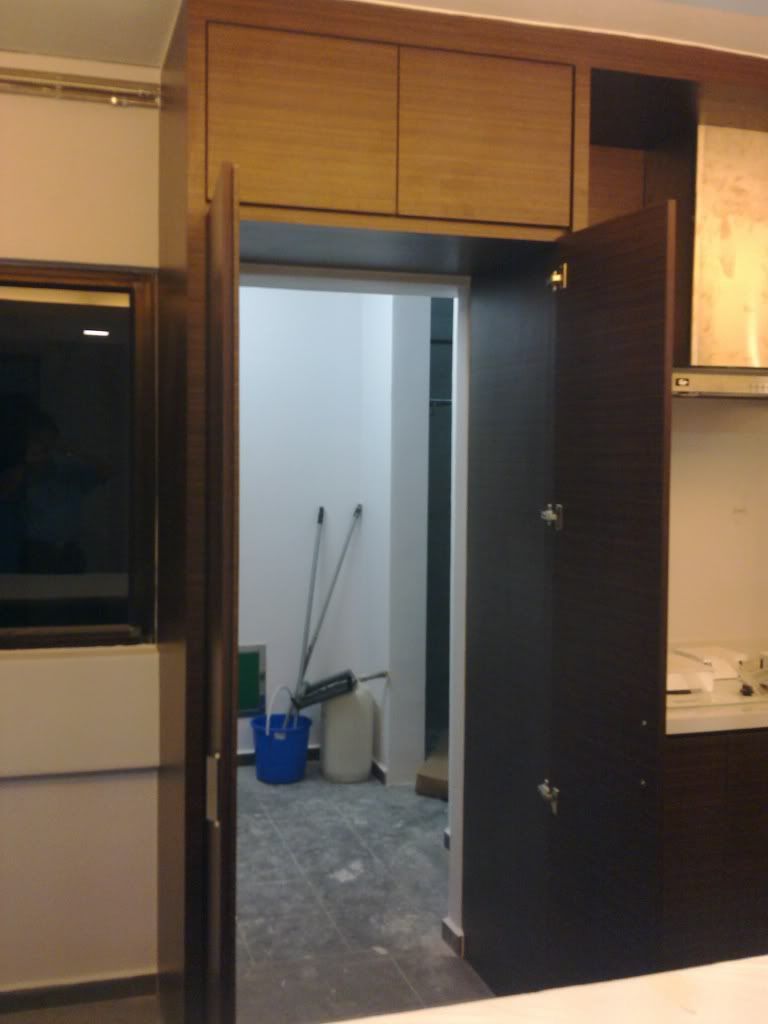
One thing that we had to do, when bringing down the entire kitchen wall, was to somehow hide the yard that was connected to it. The tall unit was the ultimate solution.
Now you see it, Now you don't
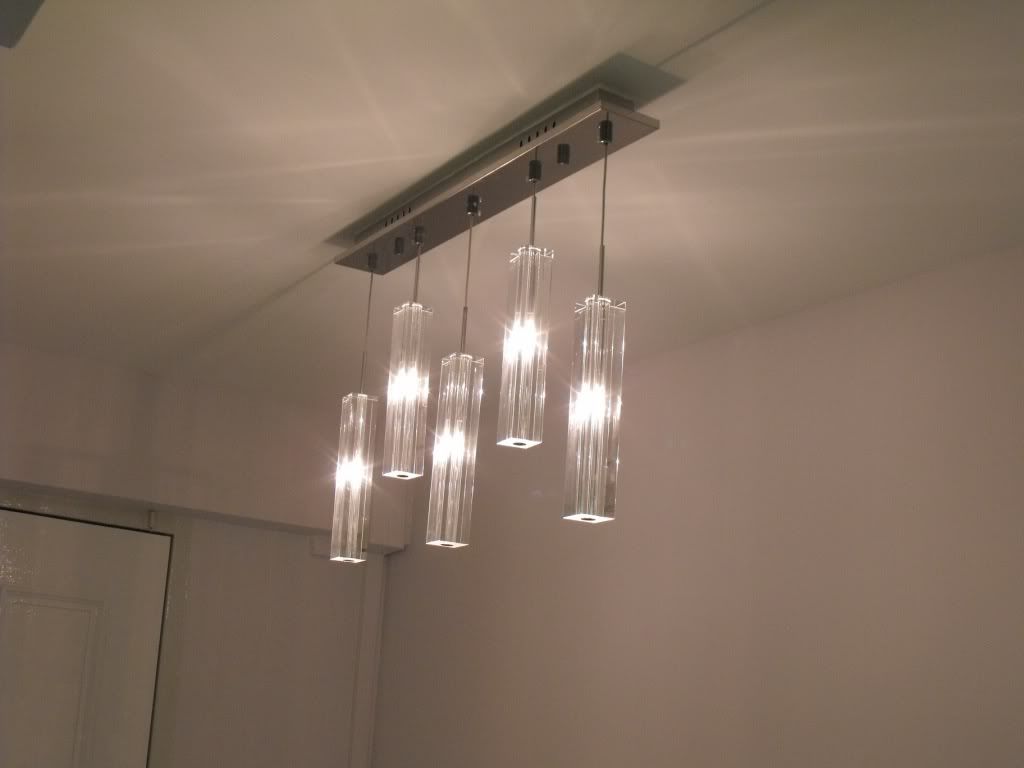
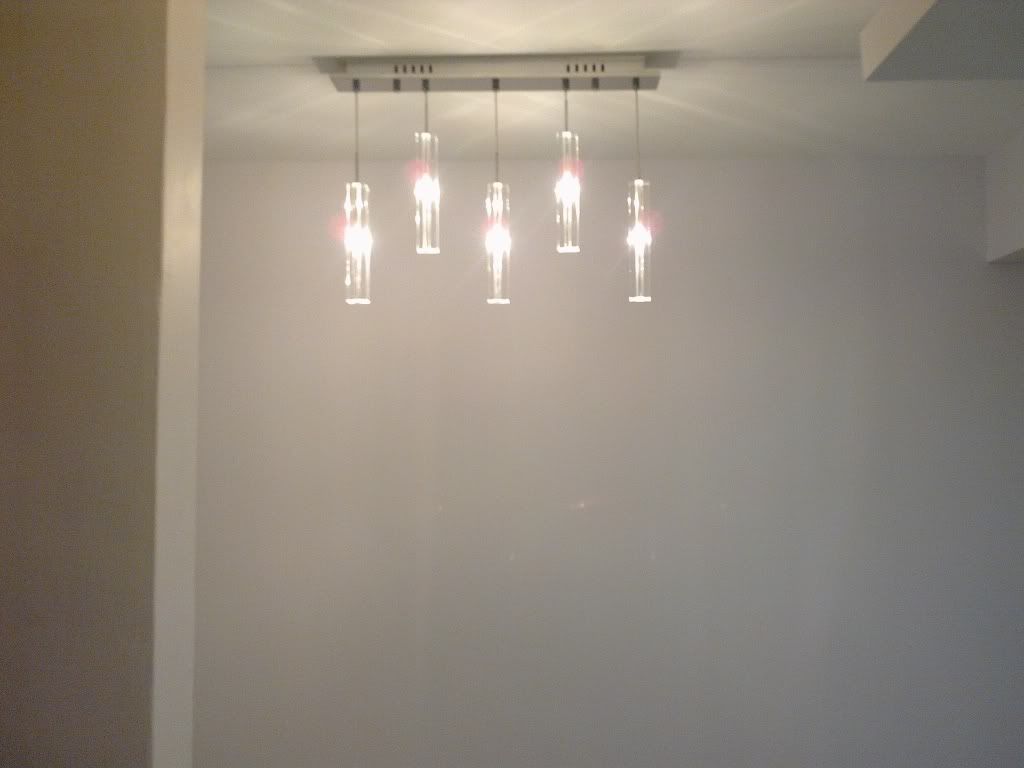
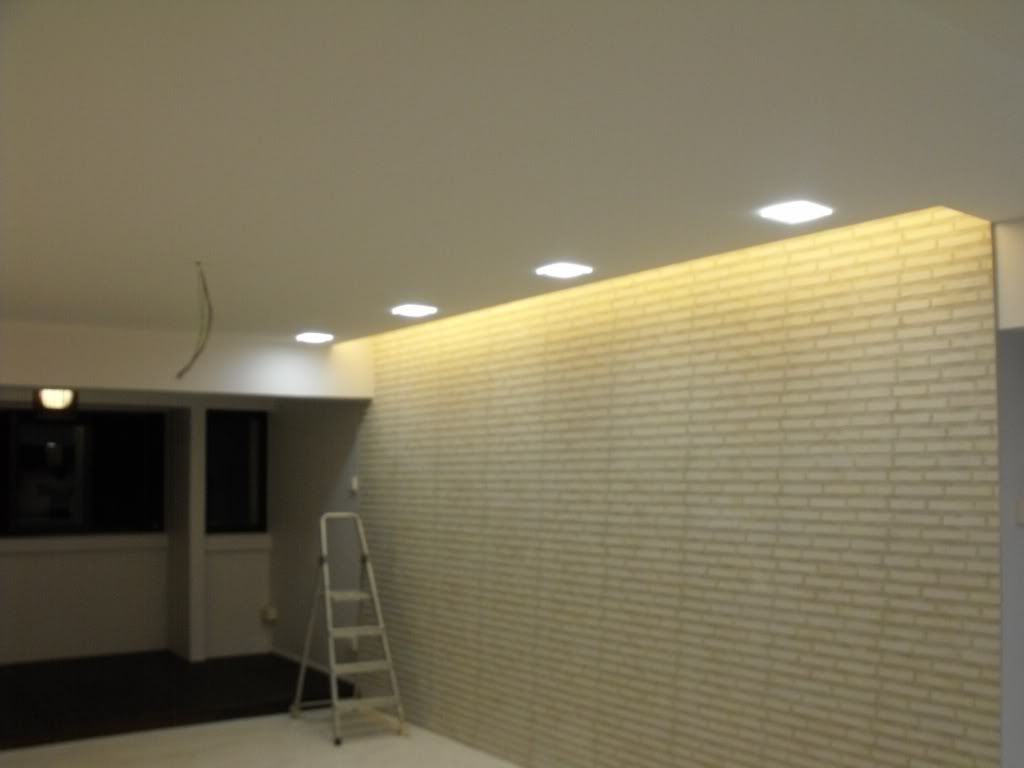
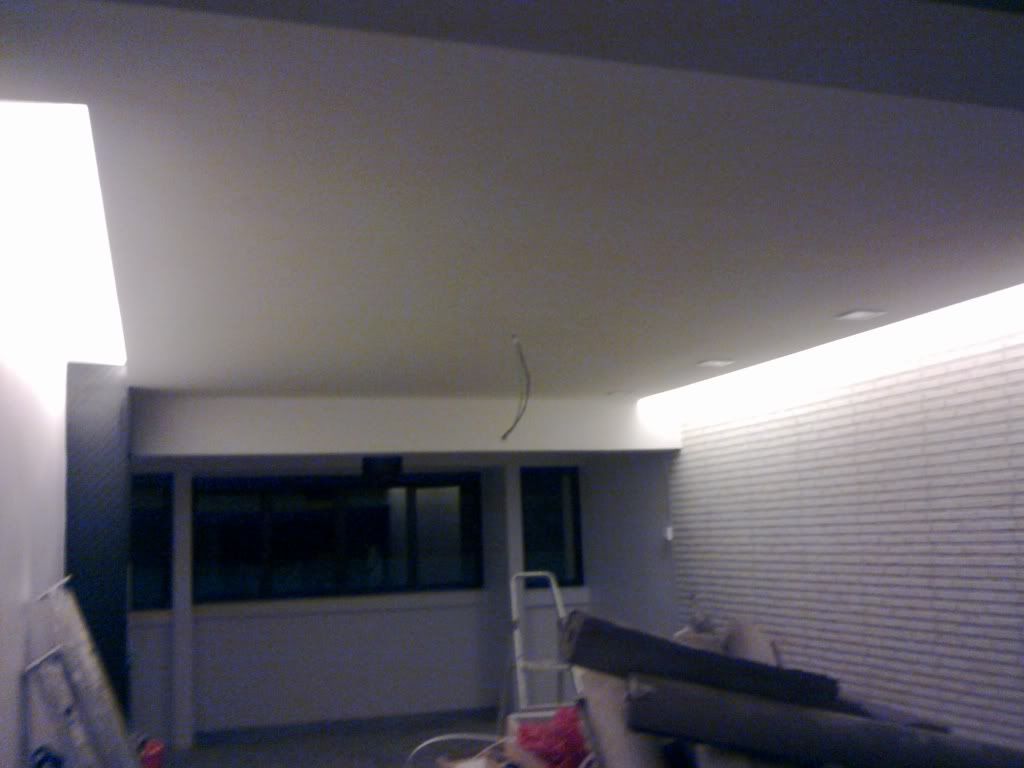
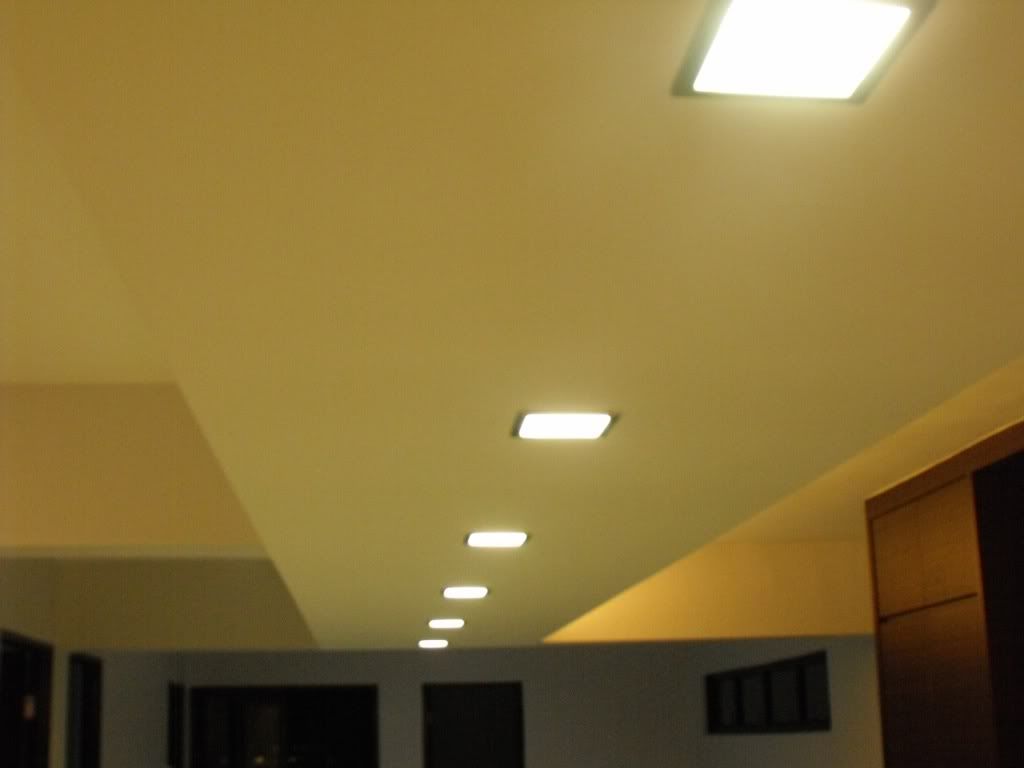
Think this is enough for one post, will post the pictures of the lights after installation soon.
More pictures of the carpentry works can be found
here.